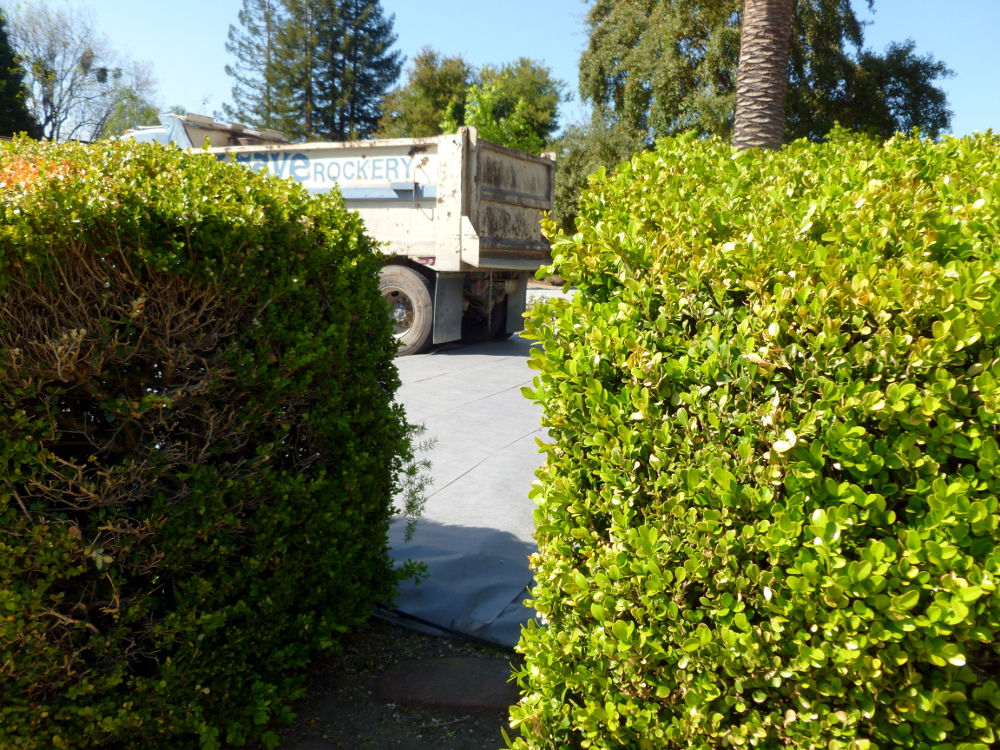
Dump truck blues
Big truck! Good:
Broken truck. Bad:
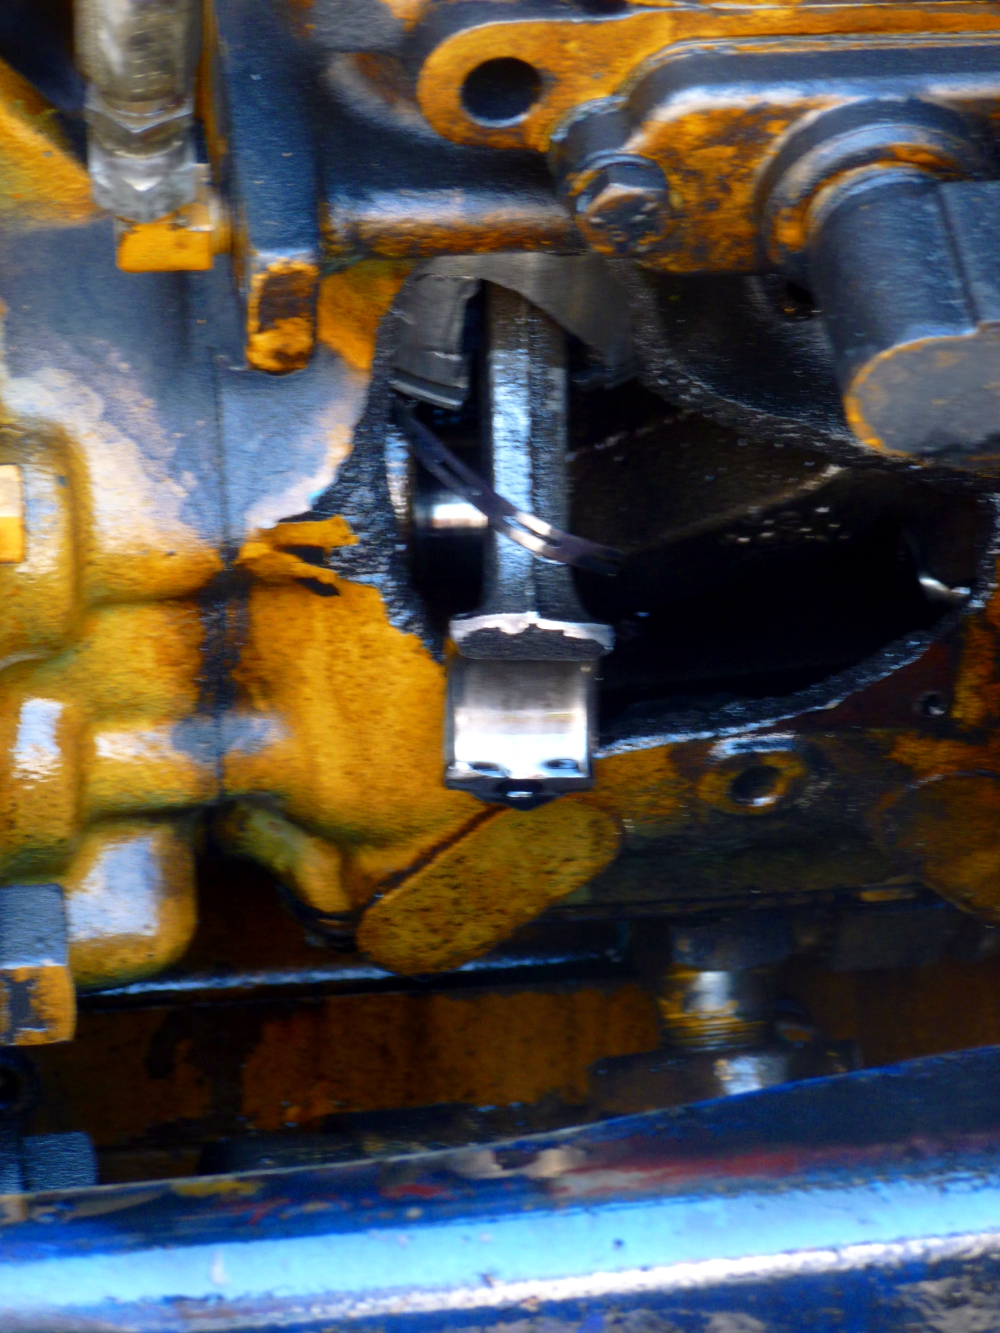
Truck is here to stay? Very bad:
Bigger truck! Good:
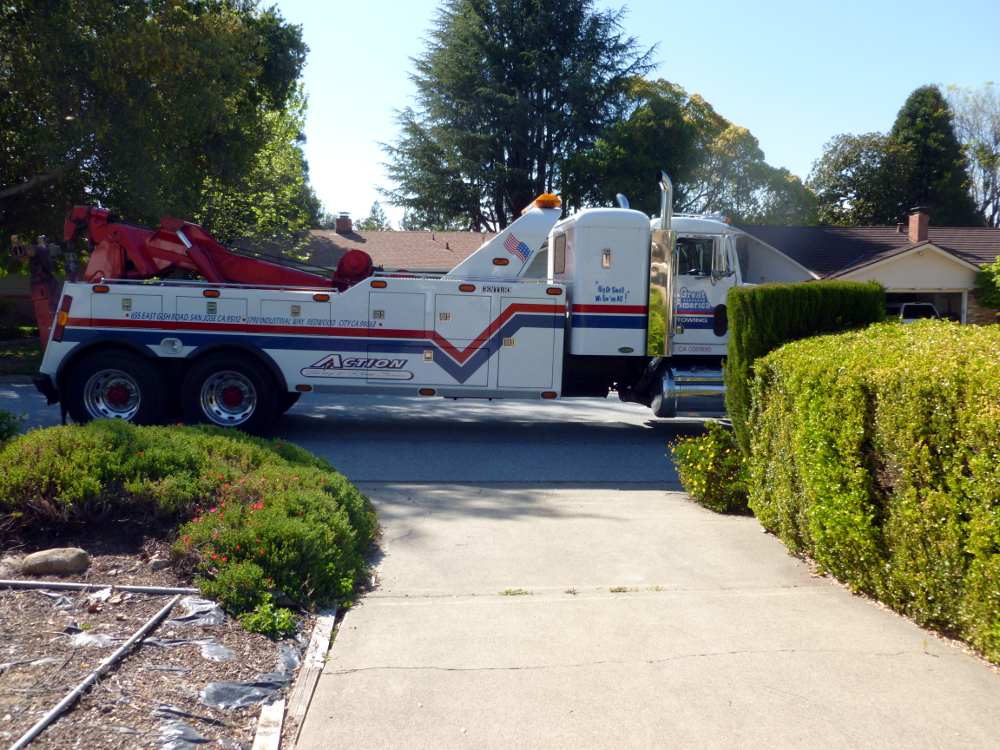
Bye bye big trucks:
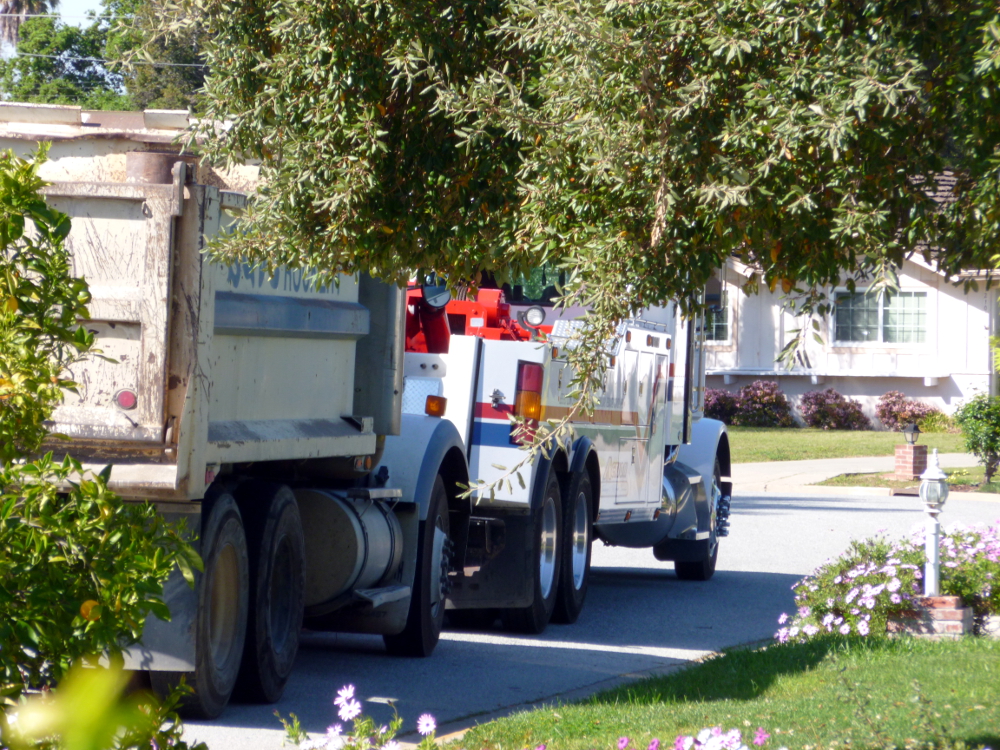
Glad we don’t have to pay for the tow.
Morning to night, same day (April 15, 2013)
No digital enhancements on the Featured image or on the next 3.
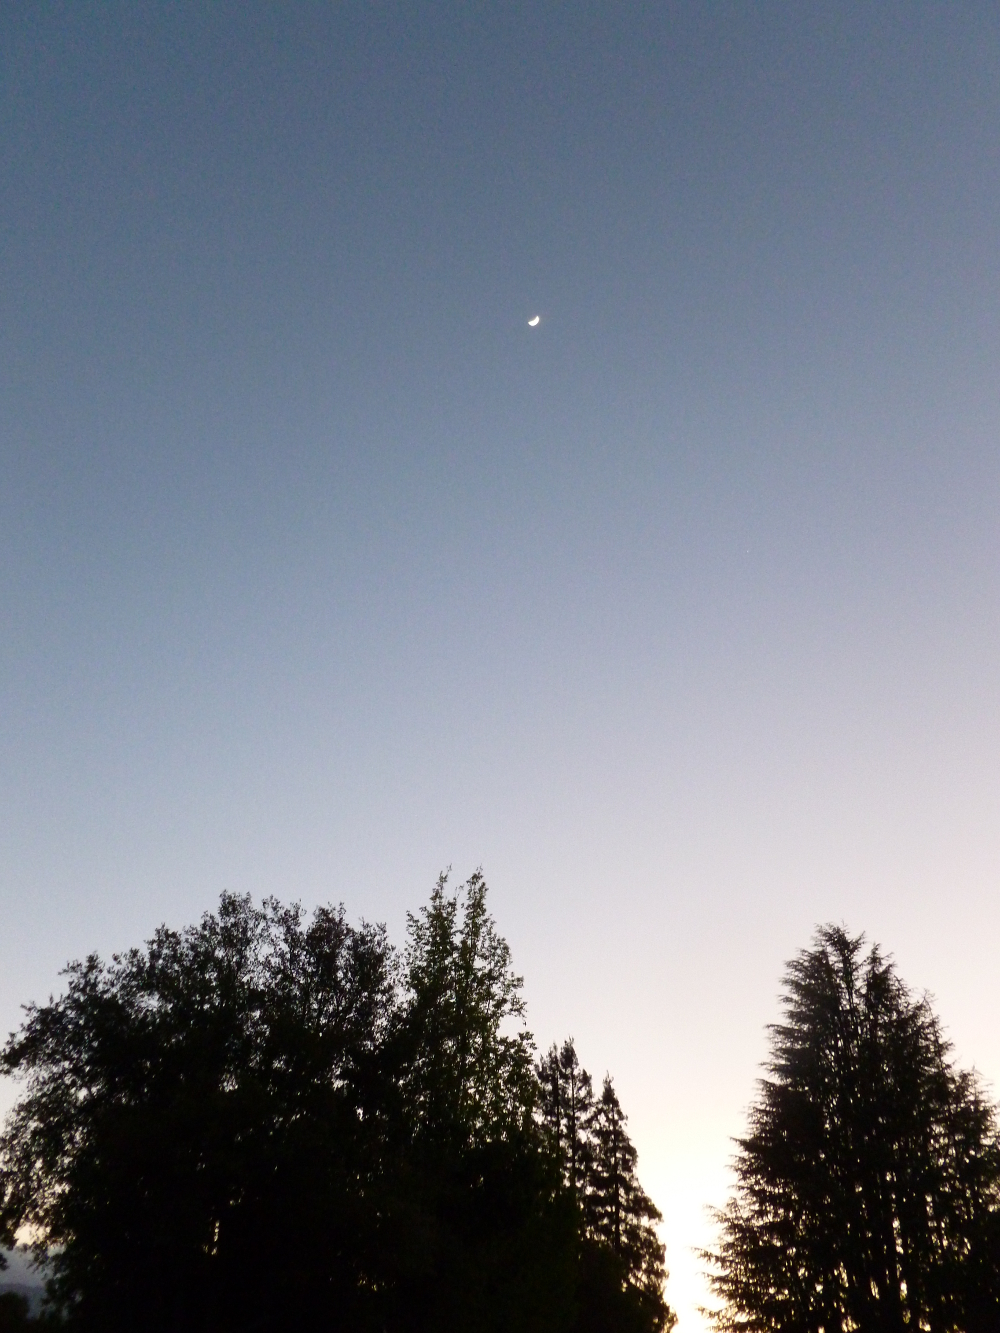
Nik software filters applied, Brilliance and Warmth decreased, then Contrast Only applied.

The original is better.
California poppies (and art self-education)
The feature photo has no photo enhancement.
This is the same photo with Corel Painter Essentials Auto Painting->Detailed Watercolor applied. Beautiful but why…
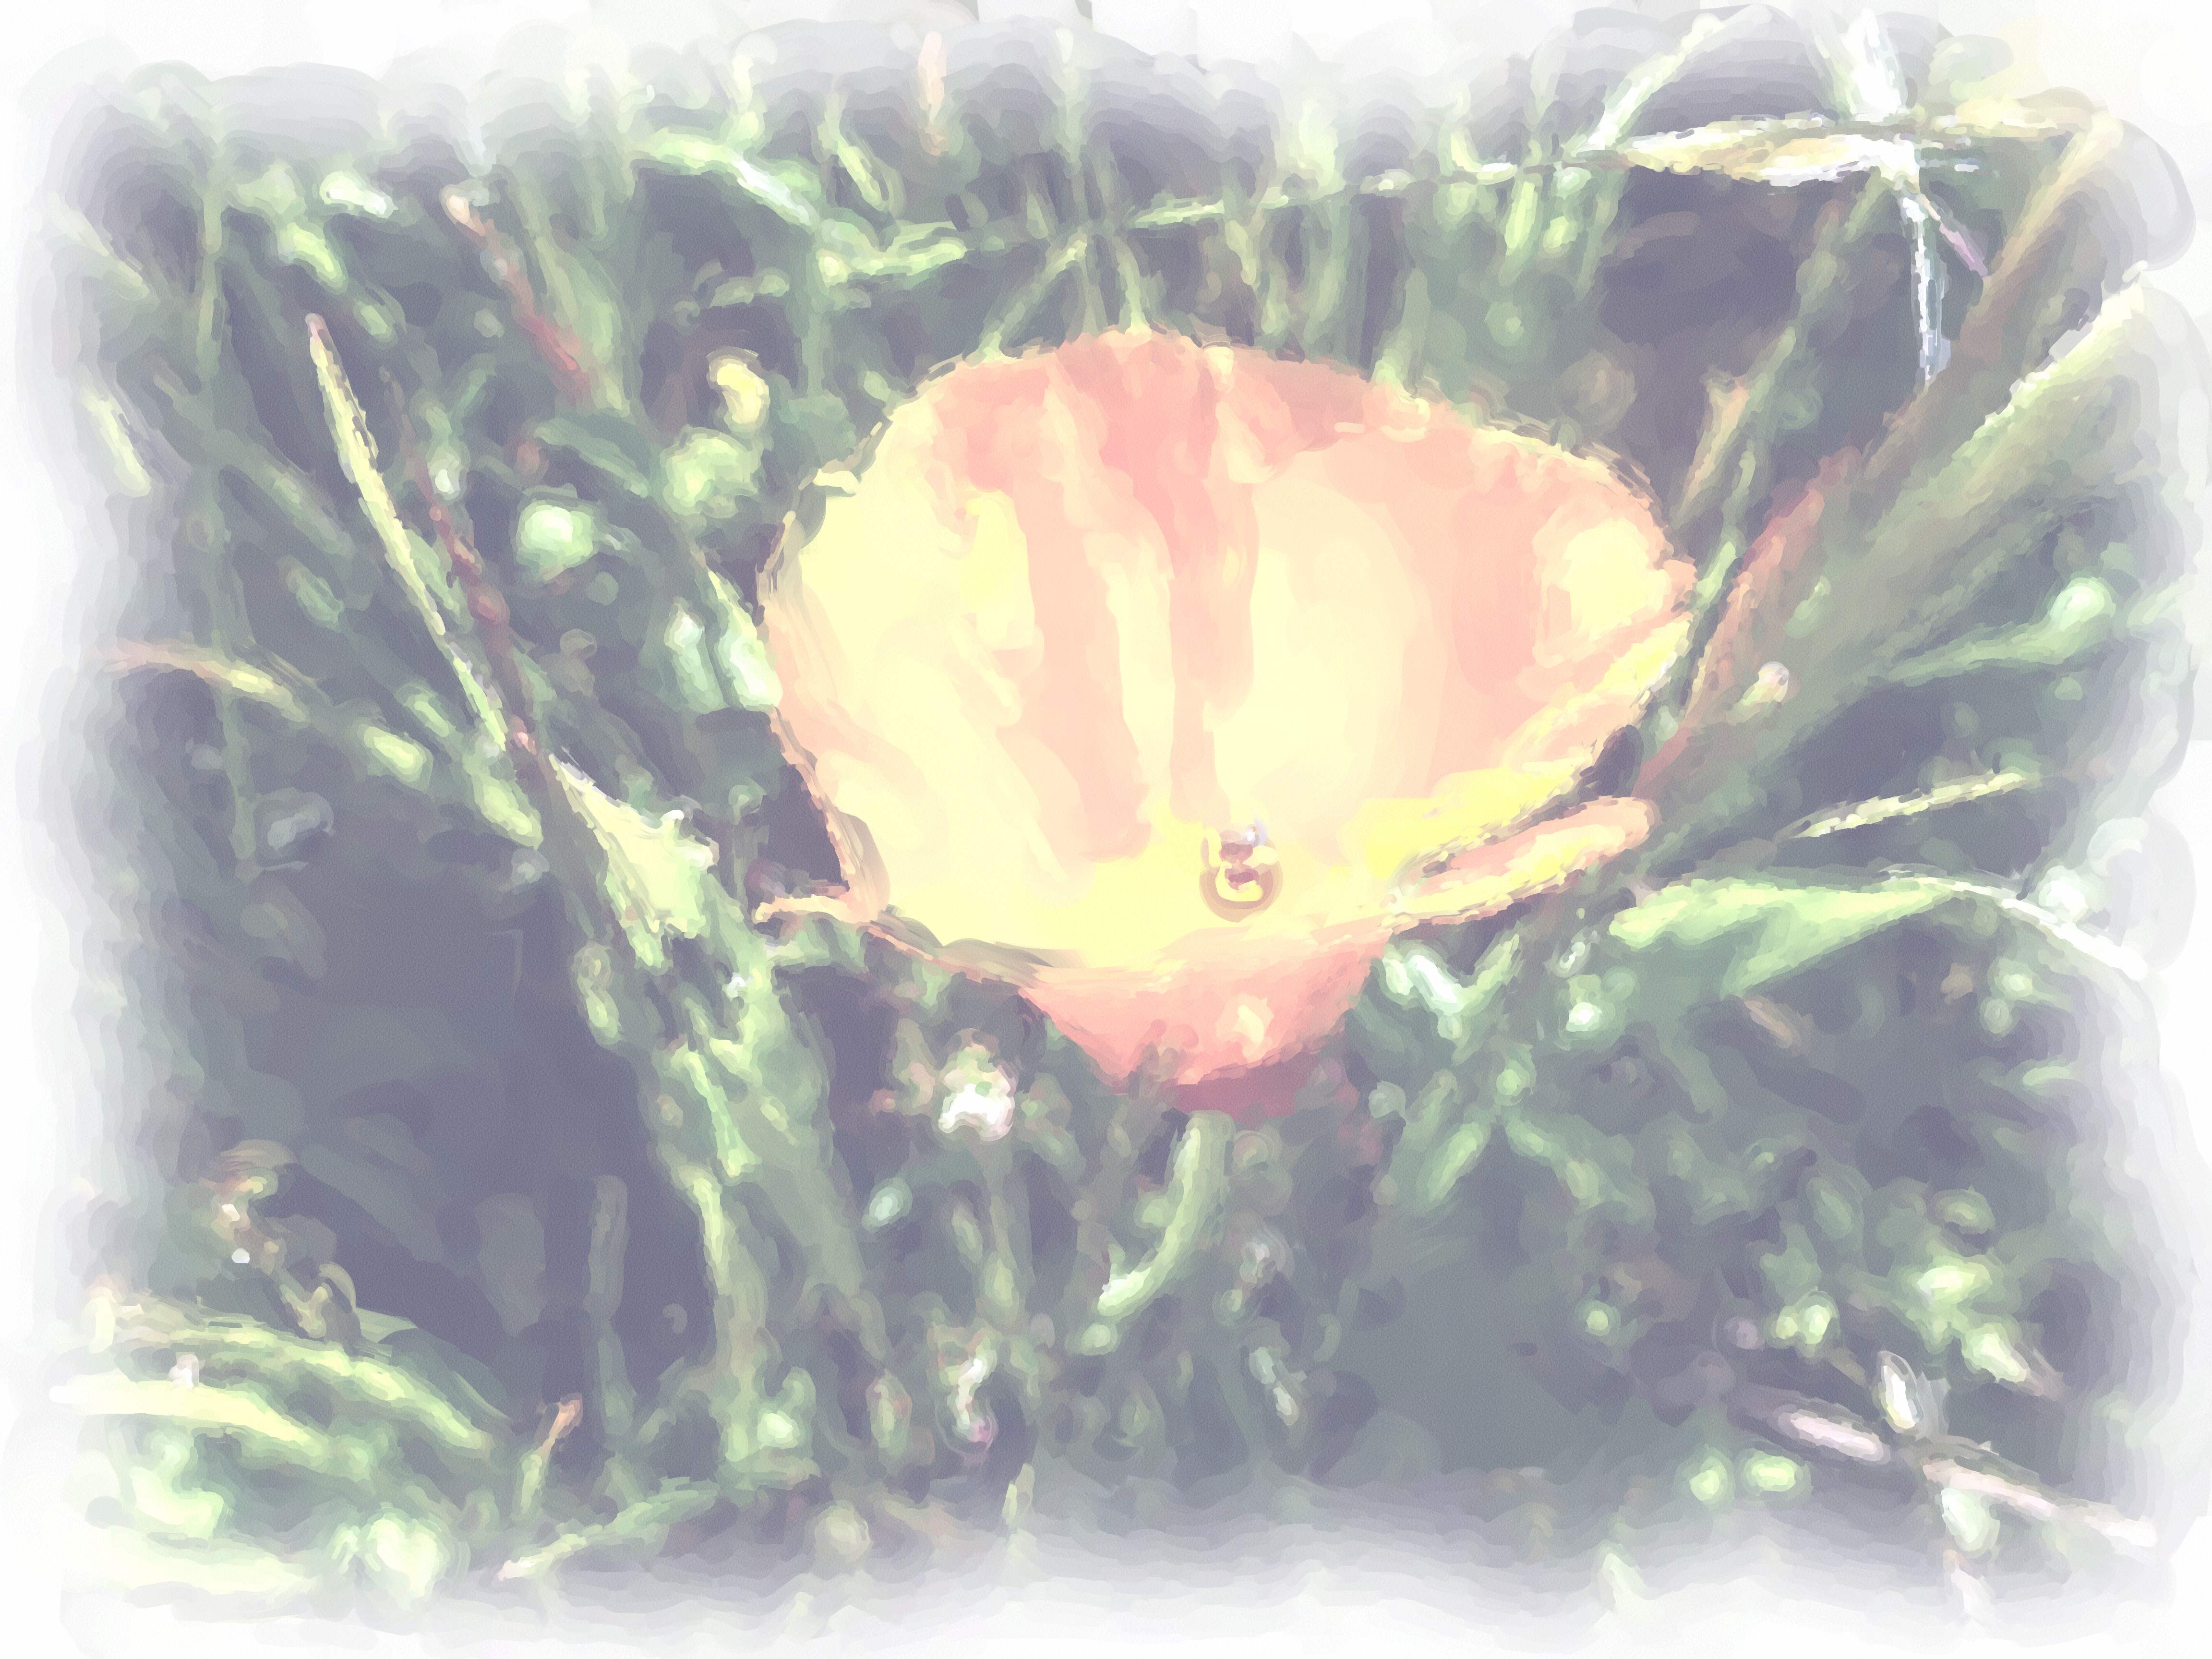
so faded? How to enrich it in Corel Painter Essentials, don’t know, so… (good ‘ol) GIMP, Colors->Auto->White Balance followed by Colors->Auto->Color Enhance. Satisfaction.
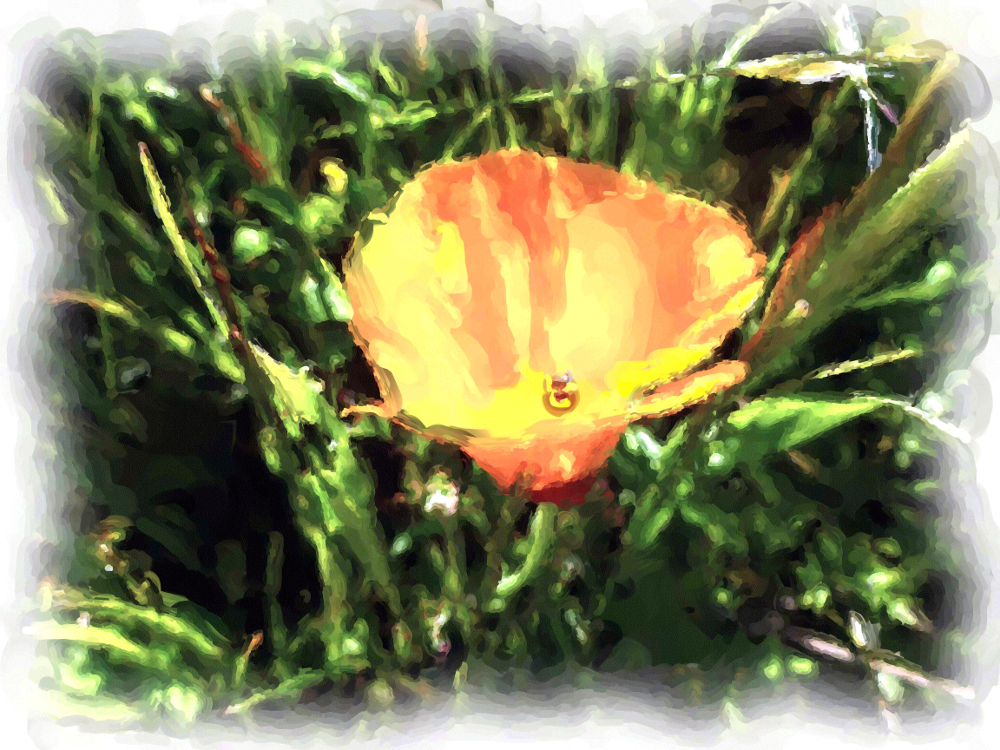
This next one has Photoshop Essentials Enhance->Auto Smart Fix applied because the poppy was too out of focus and this tool improved it enough to make the photo work. Intention was poppy in focus, grass blurry but opposite achieved. (Working with LCD display in bright sunlight without knowing the camera that well, and in a hurry.) Nonetheless, this composition makes the photographer happy.
 I
I
Power (and art self-education continued)…
The next photo is out of focus, but included for comparison to the featured photo.
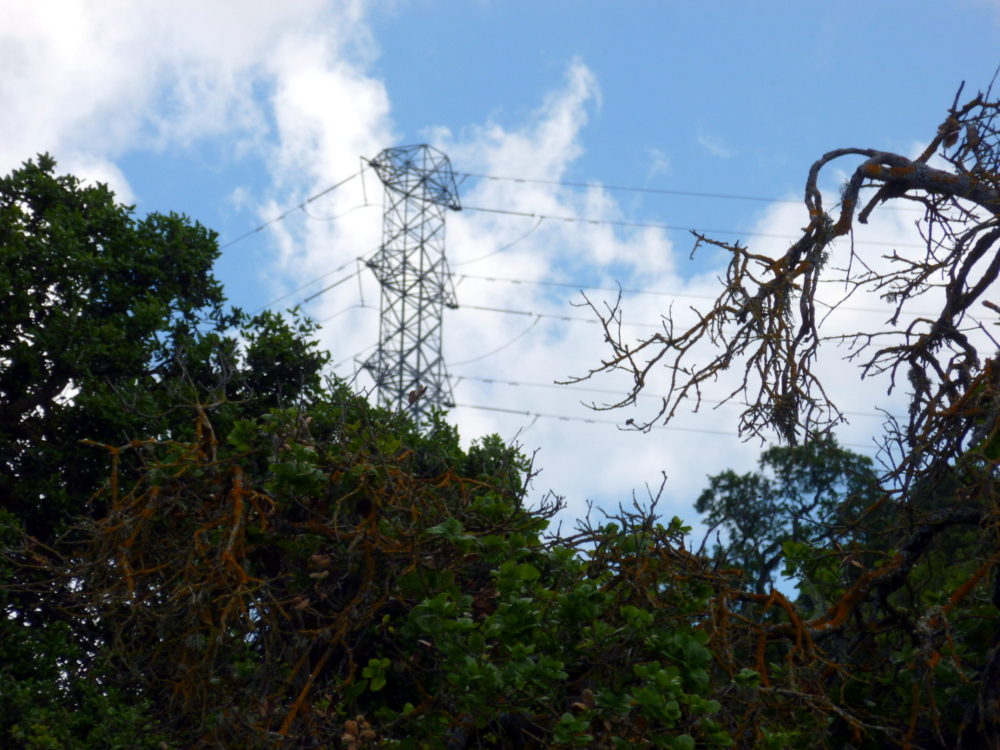
I prefer the featured photo’s composition. It looks lonely to me, and dramatic. The emphasis on the branch in the foreground in the latter picture reduces that effect, to me.
The next photo has GIMP color enhance applied, as well as white balance. All of the others have white balance only.


Ready-made frames
To shrink the photo to fewer pixels in Photoshop Elements, use Image->Resize->Image Size, then check the box Resample Image then change the Pixel width to 1000 (or X). The height adjusts automatically because Constrain Proportions is checked by default. Changing the pixel size is not available until you check Resample Image.
In the feature photo and in the one below, all the Photoshop Elements auto processes from the Enhance menu were applied except Auto Red Eye Fix.

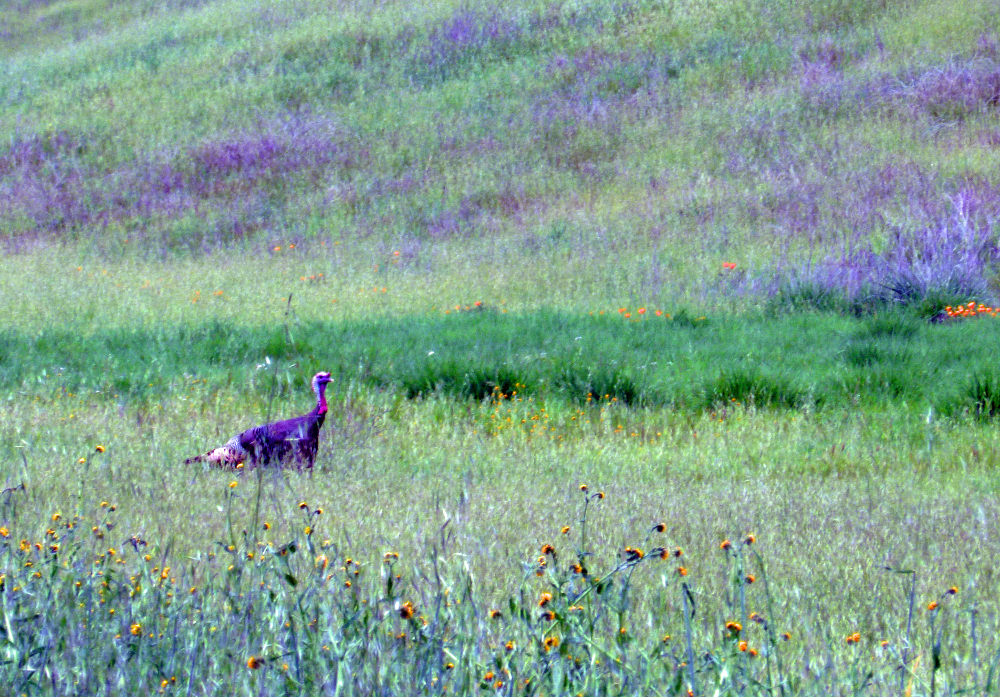
The turkey who escaped Thanksgiving… (and art education of Nia Simone)
The featured image was enhanced with Photoshop Elements using Enhance->Auto Smart Fix and Enhance->Auto Sharpen. (The latter because the image, when cropped, was a little blurry.) The featured image shows how the grass really looked. White balance and the other enhancements below threw off the color. Conclusion: GIMP white balance doesn’t work with fields of green. The Photoshop enhancements in the last picture are pretty good, but at the expense of all that lovely green. Green doesn’t last around here, so it is to be appreciated, not minimized!
The next pair show, first, the GIMP Colors->Auto->White Balance and Colors->Auto-Color Enhance and the second, Photoshop Elements Enhance->Auto Smart Fix, then Enhance->Auto Levels then Enhance->Auto Sharpness. Before all of the color fixes, Image->Crop was used and the automatically selected area accepted (by hitting Return).

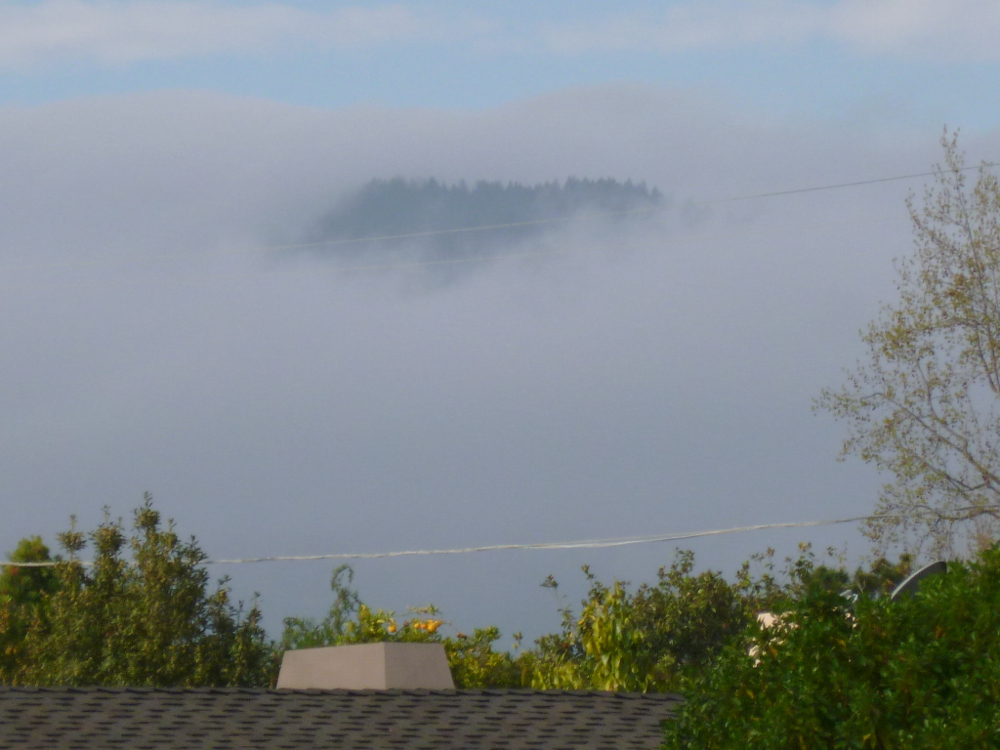
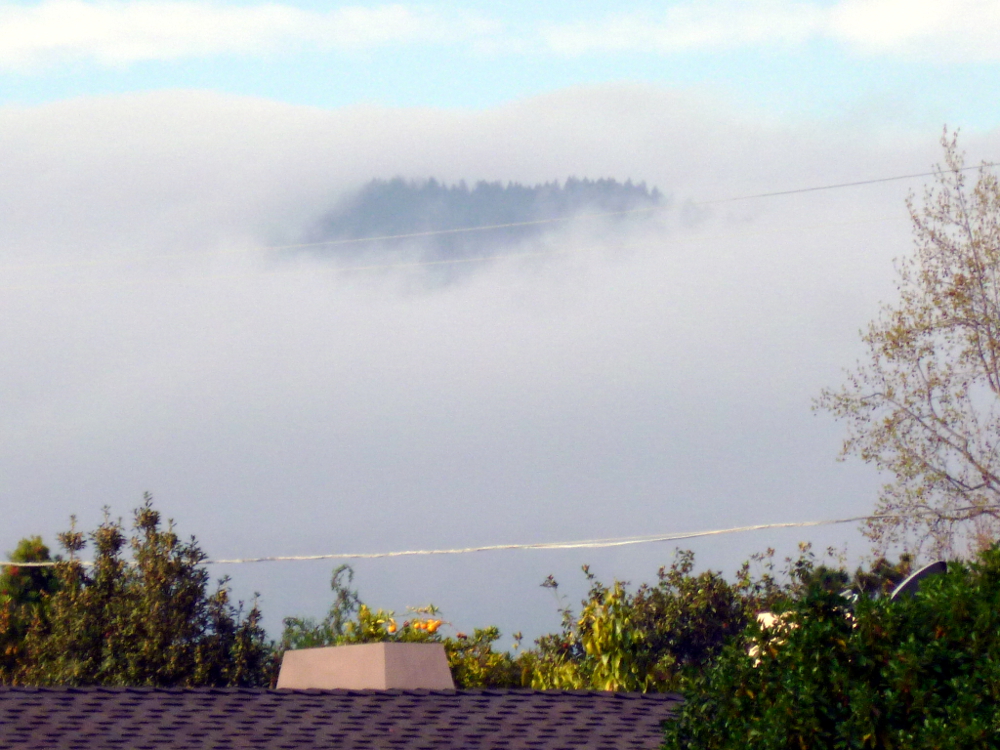
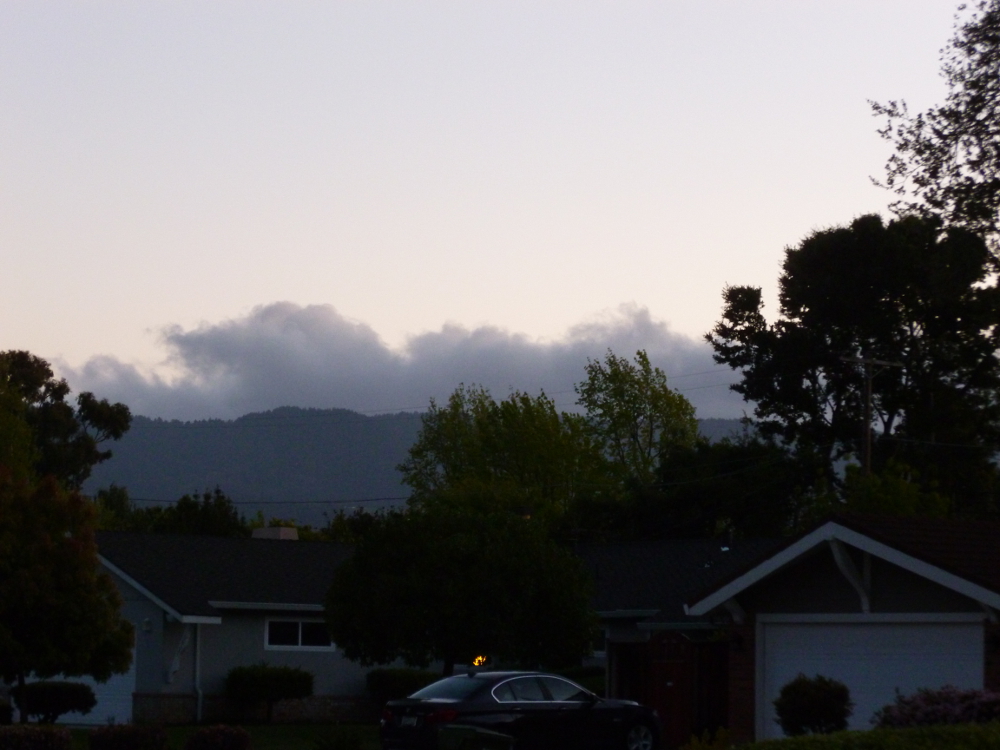
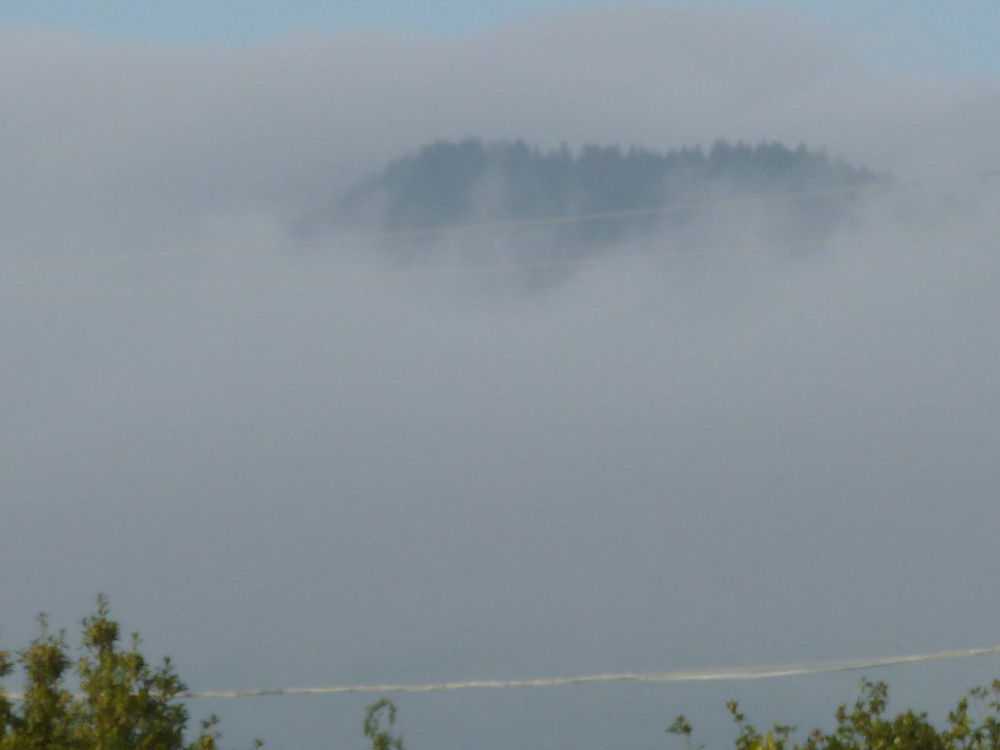
Magical morning, March 30, 2013, Saratoga, California
The featured photo has been enhanced using GIMP Colors->Auto->White Balance followed by Colors->Auto->Color Enhance. It is the featured image because it’s more intense, but there is too much purple in the roof, and, arguably, in the fog. Here is the original.
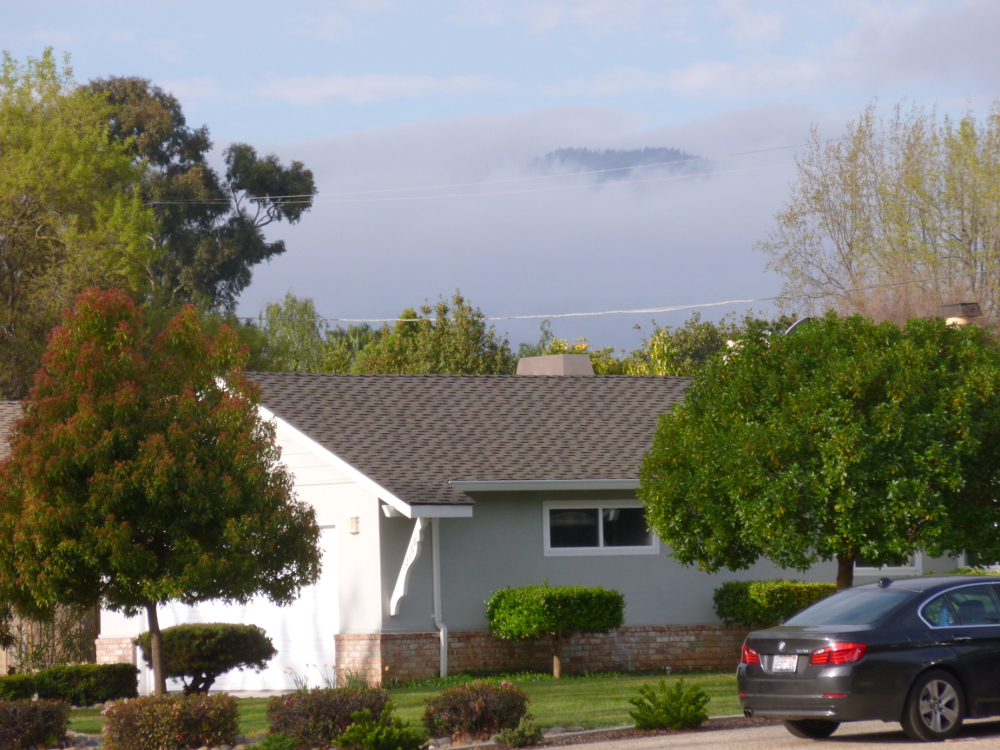
This is a close up, not enhanced. (Because it is all fog, the over-purple effect of white balance and color enhance ruined it.)
In the next set, the first is original, the second, enhanced with white balance and color enhance. Very different feelings.