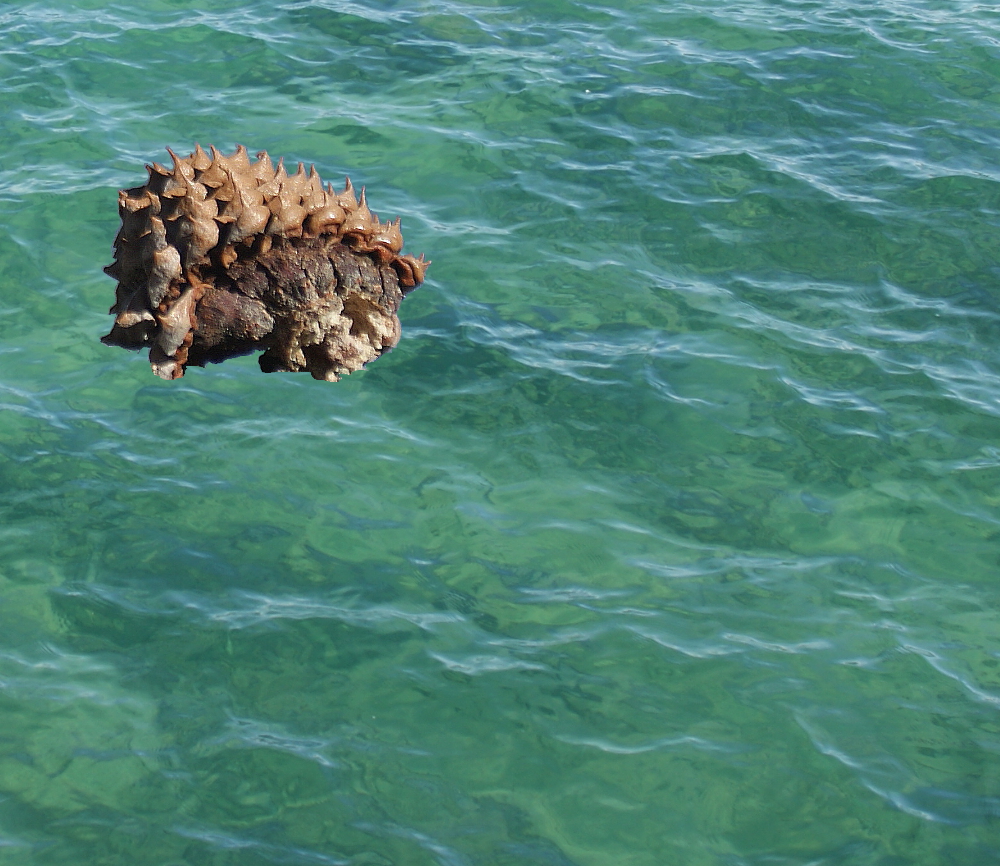
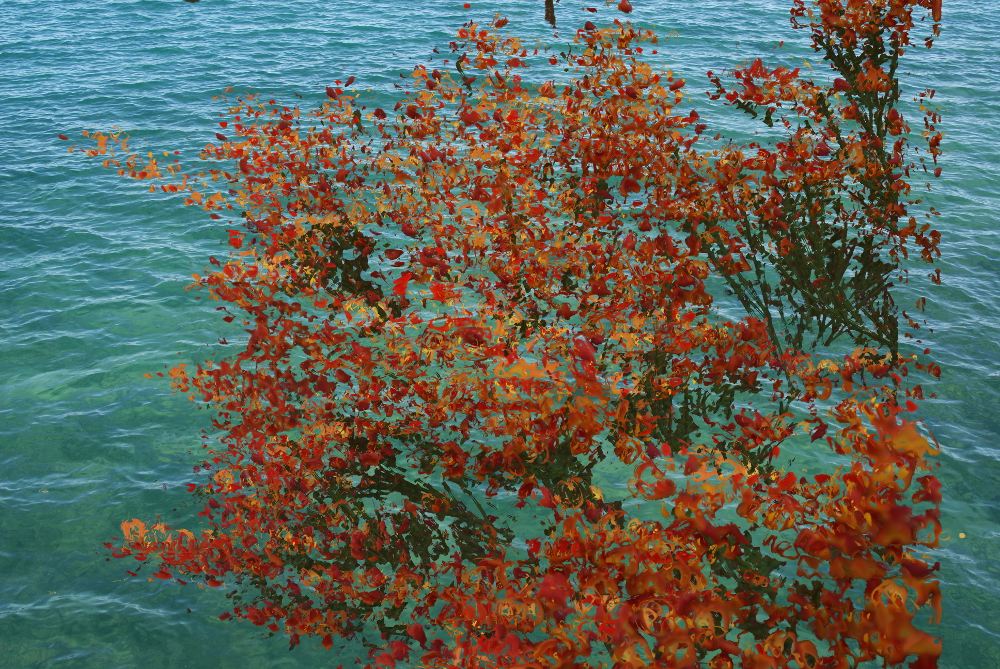
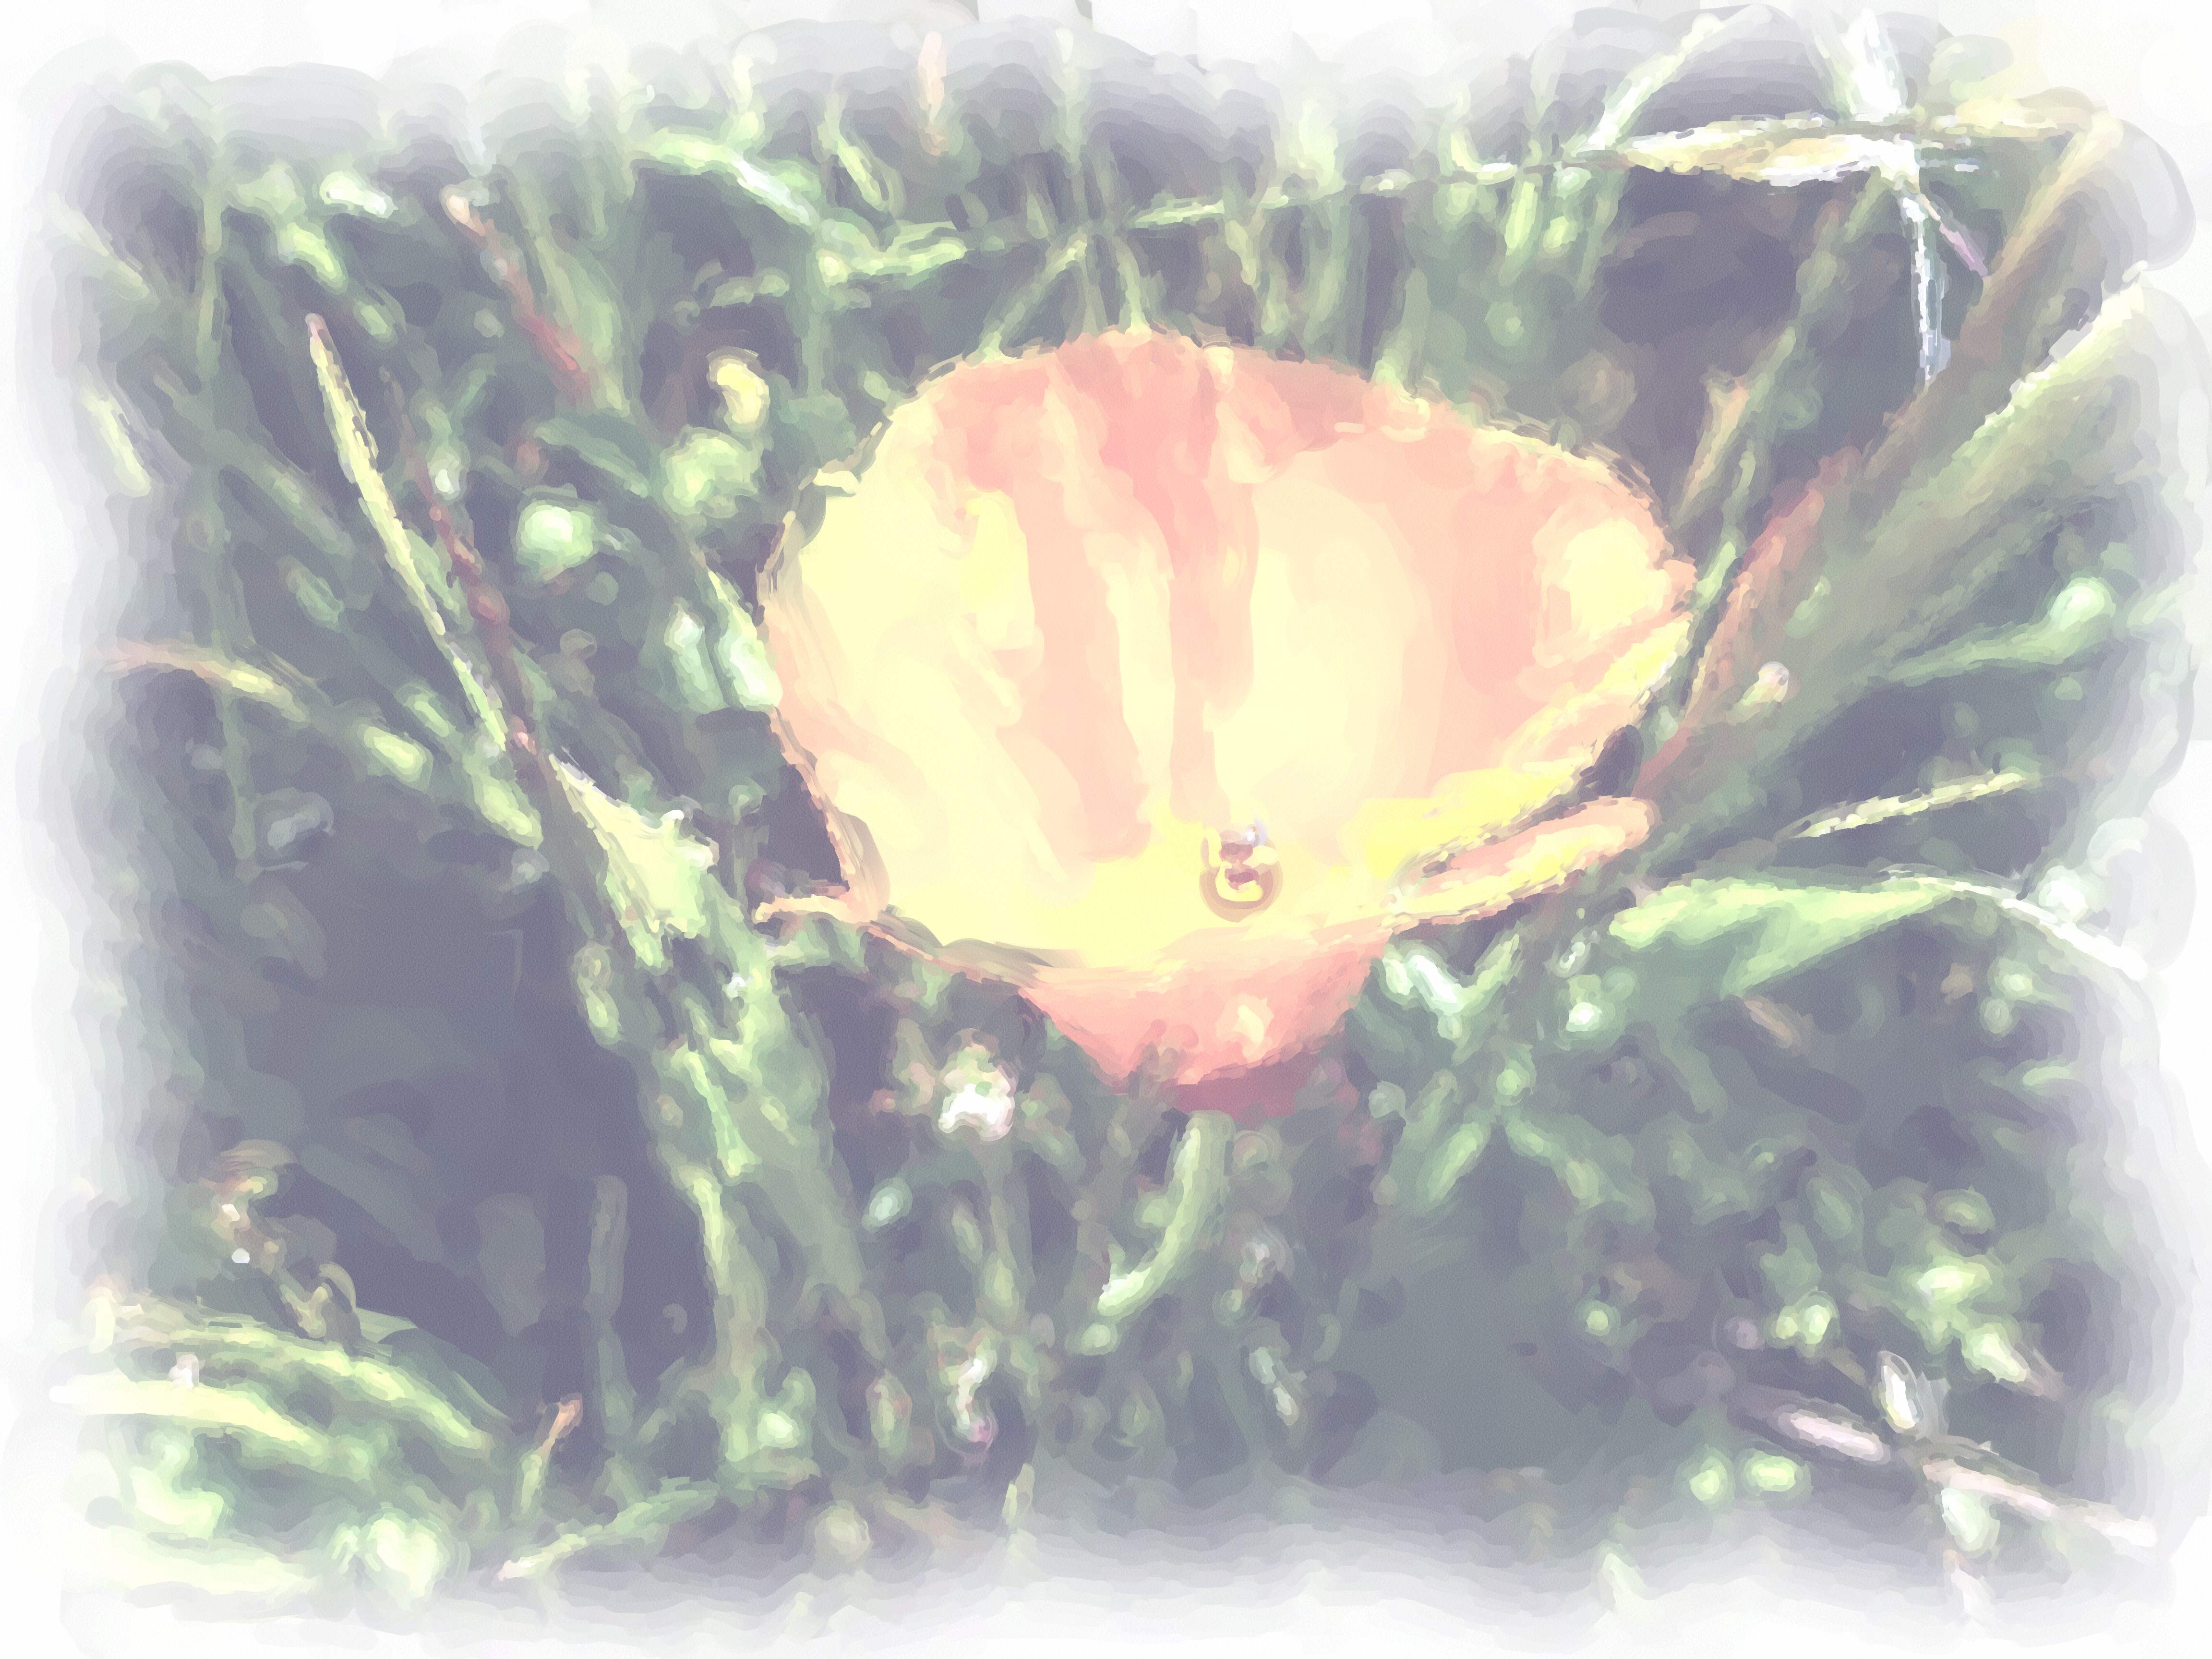
I think I finally figured out how to work with water as a colored texture. I like the idea of textures, but I wanted the water color. The key was to select just the subject from the photo you want to paste onto the texture. For the pinecone I did this with freehand select using my digital pad and pen. For the bush I used select by color, copy, paste, as many times as I could stand. I was okay with a little bit of an abstract bush. It’s not all filled in, but that allows more water to come through.
The pine cone was very small! I put it on a post to photograph it. I should have changed off my telephoto lens, but I managed to clean up the slight blur on the cone afterwards by using sharpen. The bush is from the East side of the Sierra, growing at around 5,500 feet above sea level. (Lake Tahoe is 6,000.)
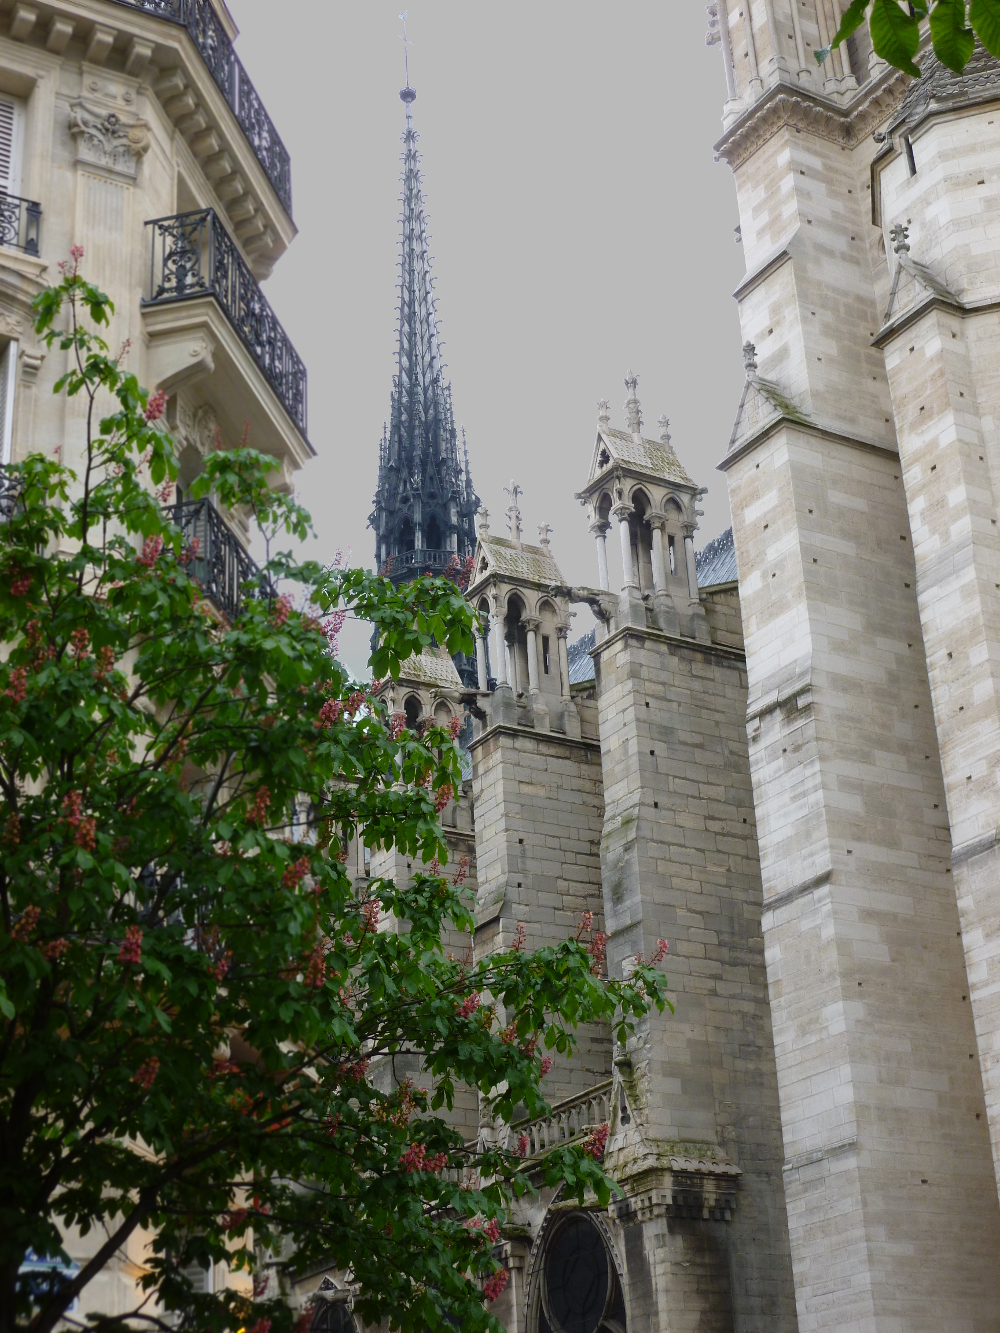
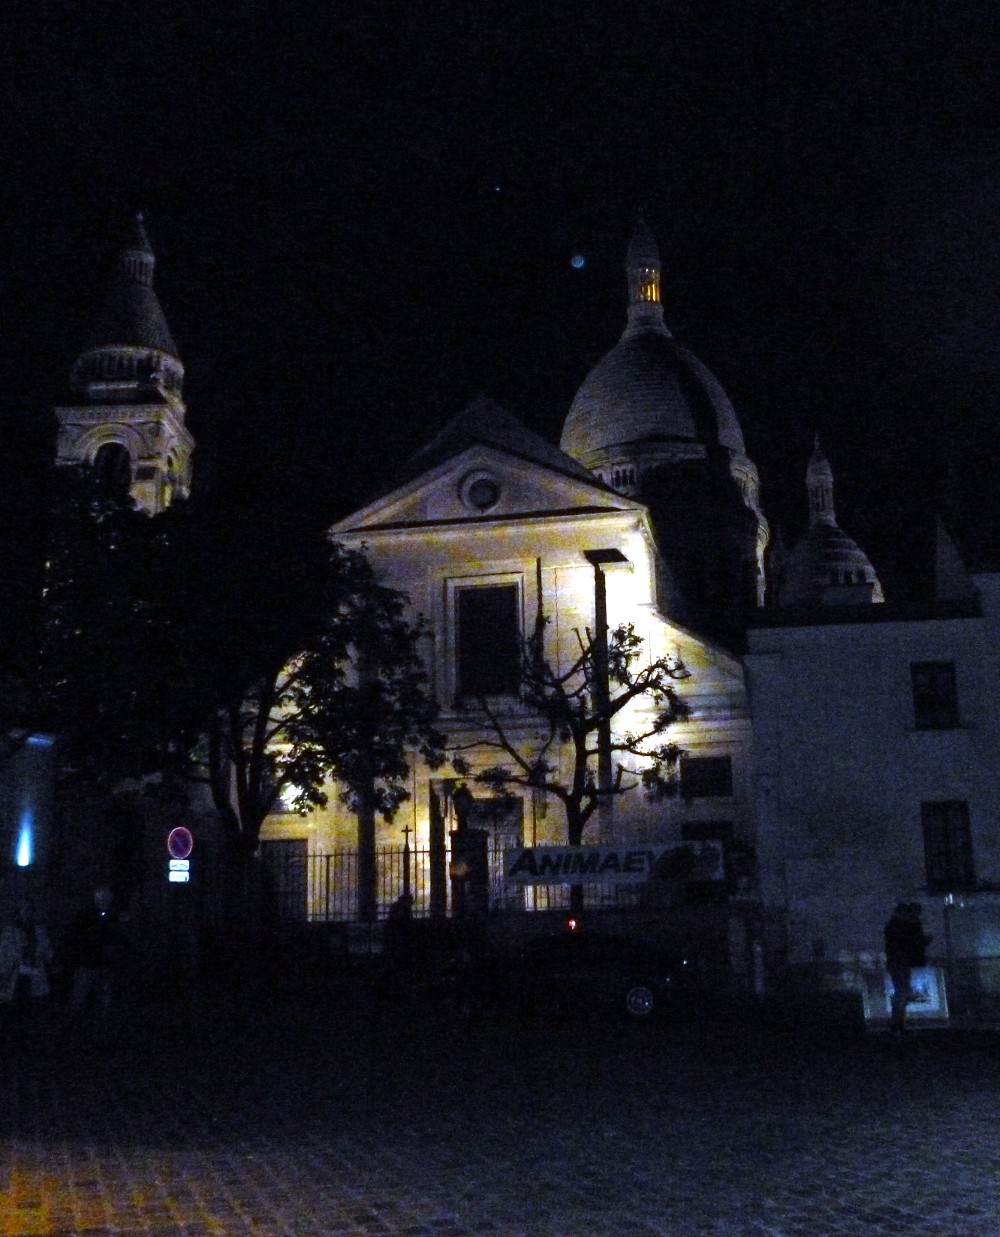
Notre Dame, sky dimmed tower sharpened tree and building blurred (using GIMP)Notre Dame stylized, (GIMP)Notre DameCathedral de Notre Dame (“CAT-ay-DROLL de NOTrha DAHM)Cathedral de Notre Dame from the Left BankSacre Couer (Sacred Heart) CathedralSinger at La Mere Catherine, by the Sacre Couer Cathedral
This is the same photo with Corel Painter Essentials Auto Painting->Detailed Watercolor applied. Beautiful but why…
so faded? How to enrich it in Corel Painter Essentials, don’t know, so… (good ‘ol) GIMP, Colors->Auto->White Balance followed by Colors->Auto->Color Enhance. Satisfaction.
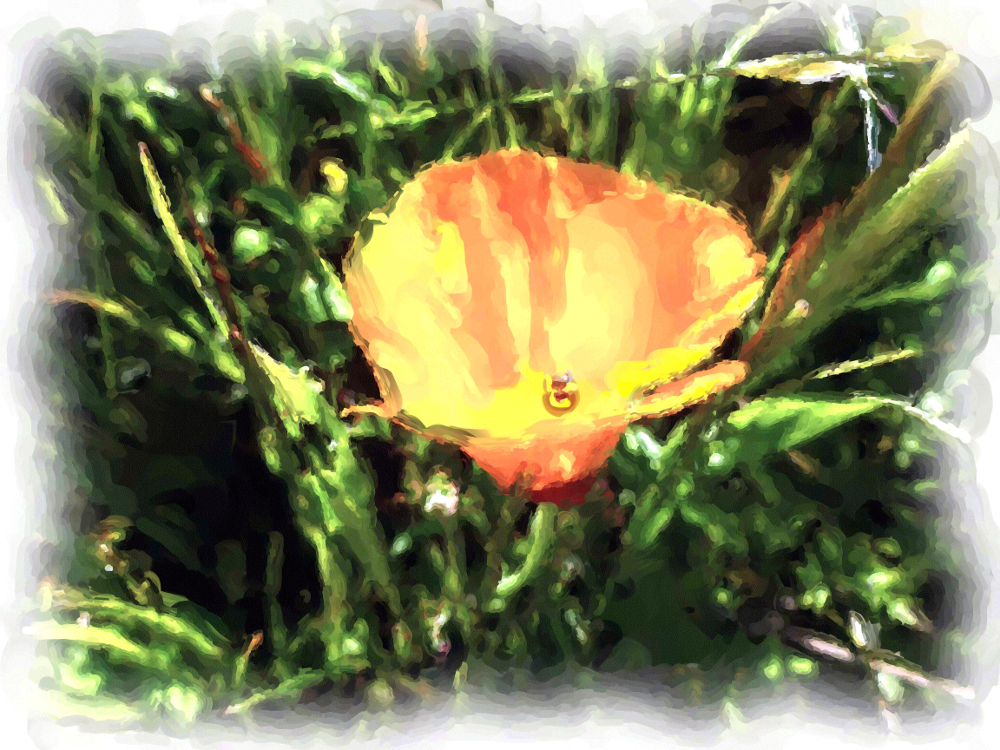
This next one has Photoshop Essentials Enhance->Auto Smart Fix applied because the poppy was too out of focus and this tool improved it enough to make the photo work. Intention was poppy in focus, grass blurry but opposite achieved. (Working with LCD display in bright sunlight without knowing the camera that well, and in a hurry.) Nonetheless, this composition makes the photographer happy.
The next photo is out of focus, but included for comparison to the featured photo.
I prefer the featured photo’s composition. It looks lonely to me, and dramatic. The emphasis on the branch in the foreground in the latter picture reduces that effect, to me.
The next photo has GIMP color enhance applied, as well as white balance. All of the others have white balance only.
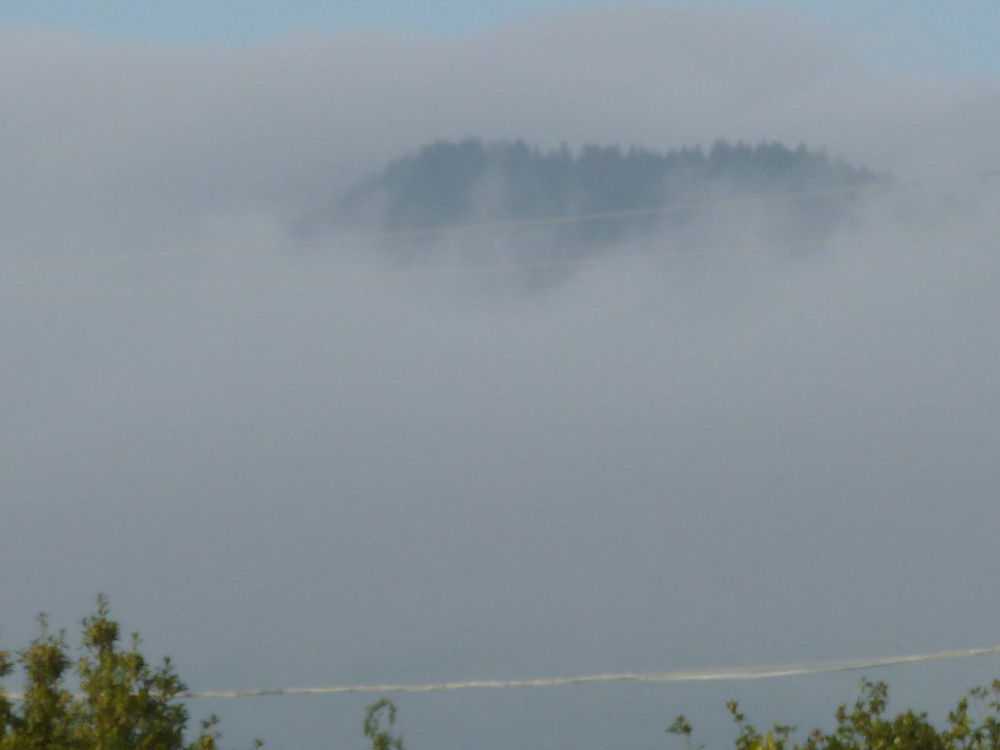
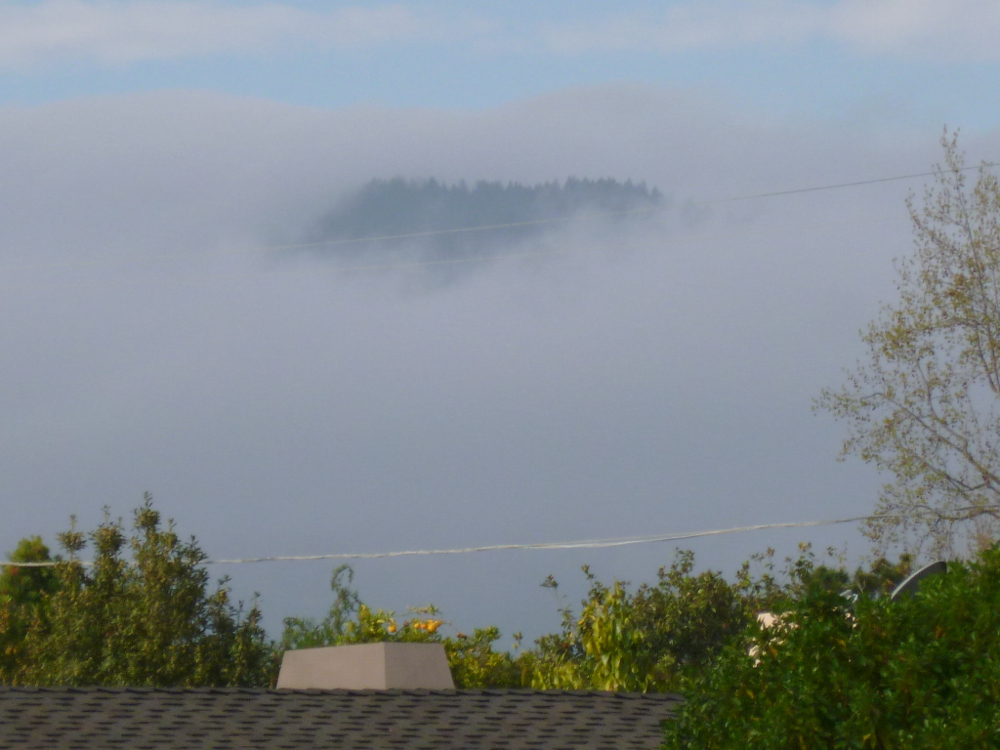
The featured photo has been enhanced using GIMP Colors->Auto->White Balance followed by Colors->Auto->Color Enhance. It is the featured image because it’s more intense, but there is too much purple in the roof, and, arguably, in the fog. Here is the original.
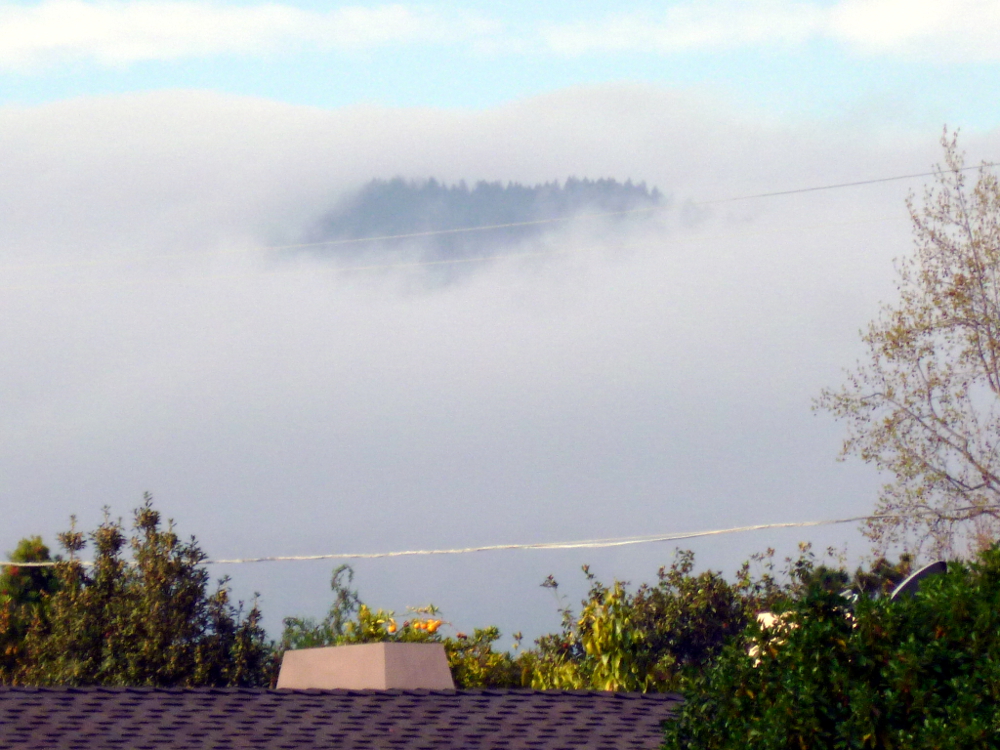
This is a close up, not enhanced. (Because it is all fog, the over-purple effect of white balance and color enhance ruined it.)
In the next set, the first is original, the second, enhanced with white balance and color enhance. Very different feelings.
First stencil, step 3, stick it on (step 1 was getting a photo, turning it into black and white and increasing the contrast (see http://www.youtube.com/watch?v=SpcU0b_okv4) and printing, step 2 was cutting it out with an Exacto knife.)
Step 4. (Should be mowingthis grass!)
Failure. Bleeding from overspray.
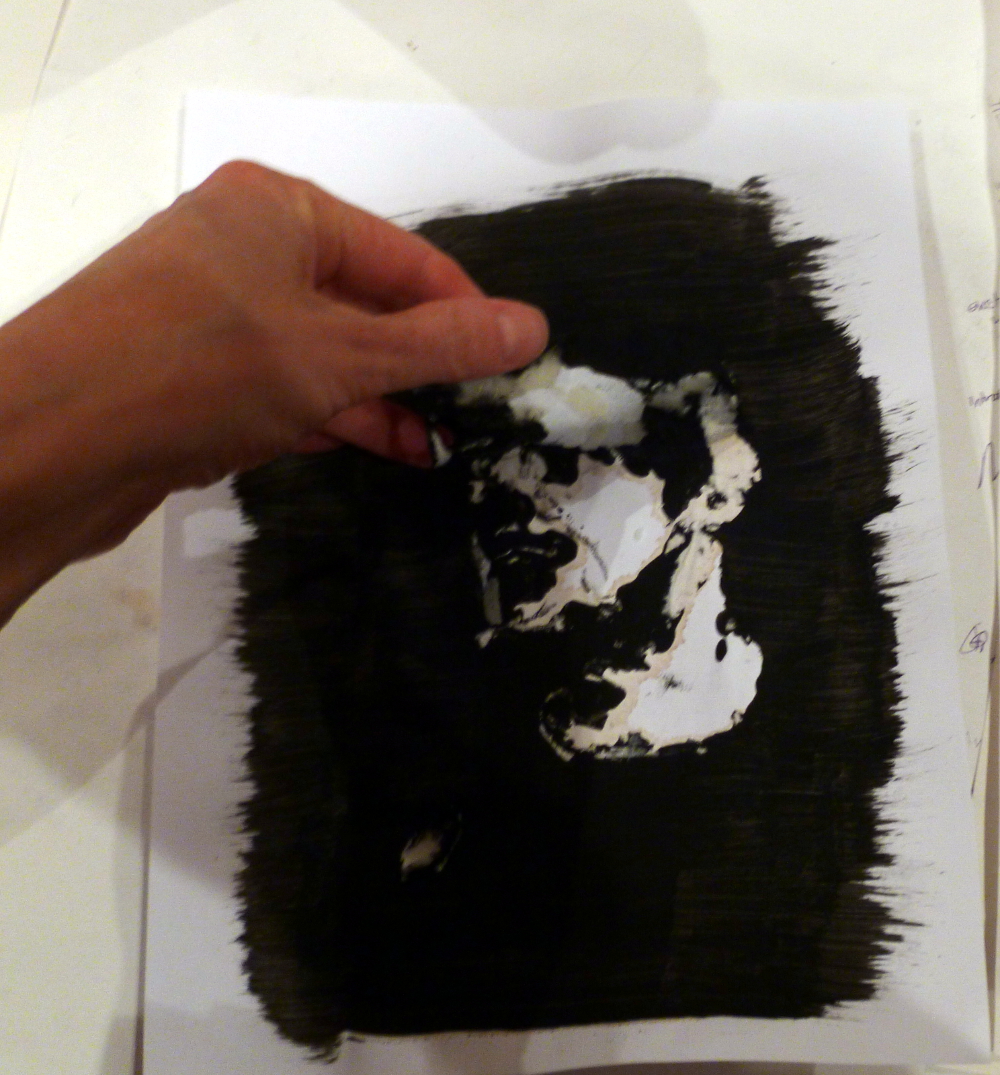
Step 3 again, this time using this cool wax you can get at the office supply (note the original stencil is black now):
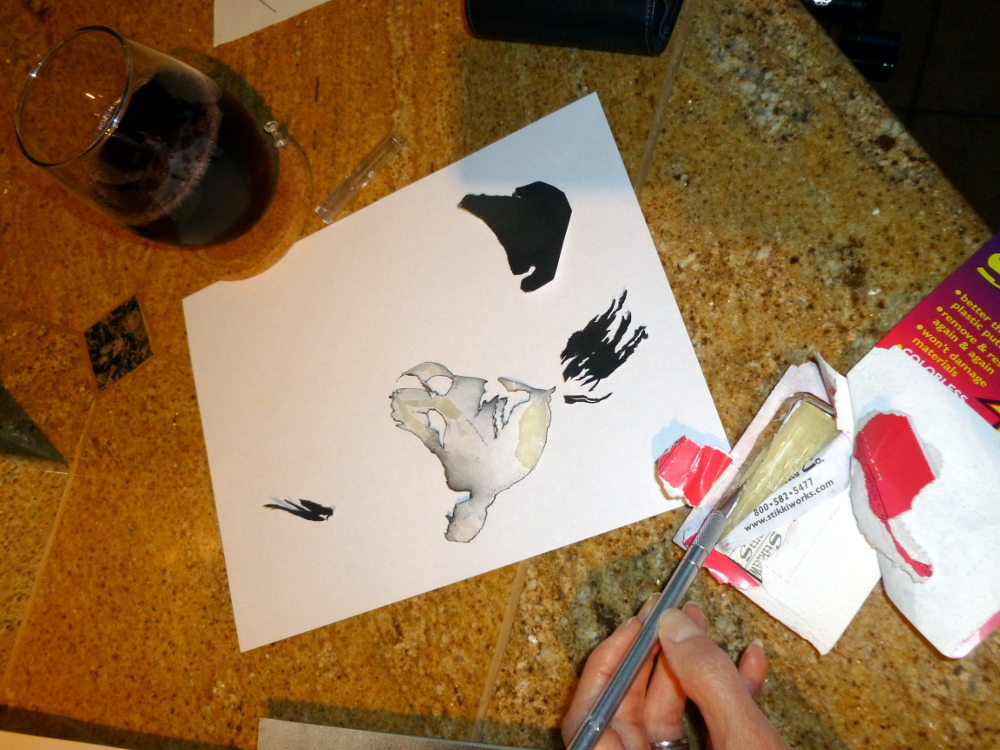
Sangria to help with nervous tension. Recipe: Make iced Passionberry Fruit Tisane from The Monterey Bay Spice Company (http://www.herbco.com/). Mix with red wine. A few ice cubes. Be careful with the Exacto knife.
It didn’t work out exactly as described so here is documentation of the additional steps:
Thankfully have a photo of the spray-painted stencil, which is black now, and start with that. Make it a stencil using GIMP as described in completely with GIMP.
Thinking… Can I flip black and white? Should be simple. There’s something called Invert. Click. Nothing happens.
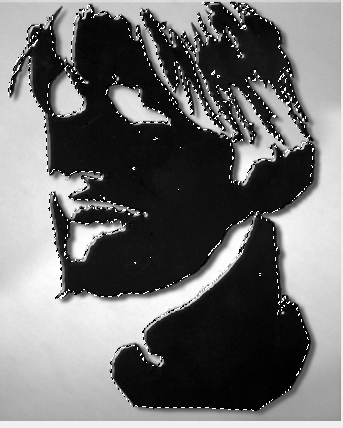
Struggle and experiment, use handy Select by Color (Tools->Selection Tools->Select by Color) to grab all the black.
Have dotted lines. Look in the Select menu. Find Float! Try that. (Note: This screen shot made by creating a new image, then File->Screenshot, selected The Whole Screen, then crop the result.)
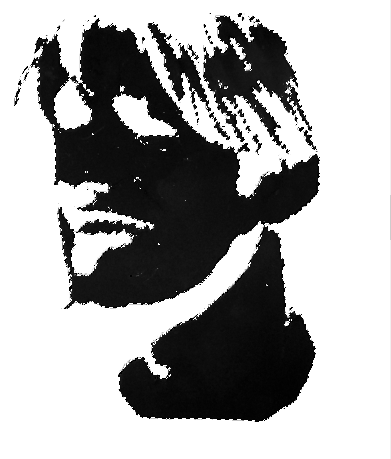
It’s floating. Can it be dragged free of that background? Yes.
Now what? Click Edit->Copy. Now it’s in the clipboard.
Now create a new image, (1000×750, basic working size) and paste. Notice, probably didn’t have to move it off to the side as that actually had no effect. Just making it float was the key to detaching it from the background and copying it into the clipboard.
I
It’s still floating. Can I invert it now? No. Instead, Tools->Selection Tools->Select by Color and click on the white part. Now white part is selected; you can’t tell, because the borders that are highlighted = borders of black, but it really is the white part, which you can tell when you do this: Edit->Fill with Pattern:
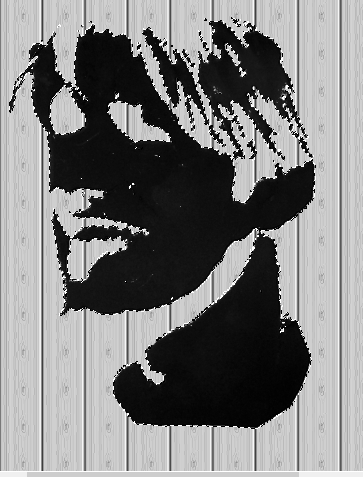
Do Tools->Selection Tools->Select by Colors again and click on the black part. Does Invert work now? No. That would be too easy. How about Edit->Fill with Background Color? Expecting the vinyl paneling in the stencil, get this instead, the whole point of the entire stenciling exercise!
Okay, can it be less white? Yes, but can’t remember how to make it gray. Did that somehow. (Will update this post when it’s re-discovered.)
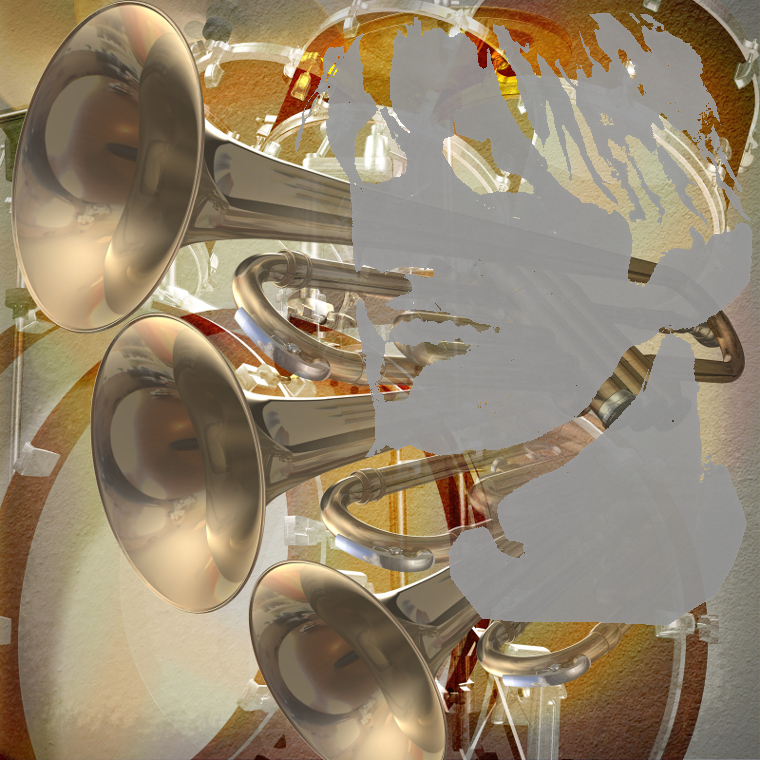
However, can now just Control C or Edit->Copy the floating image, open the background (purchased from canstockphoto for $3) and paste from the clipboard. The image is still floating. Drag it to where you want it.
Last step, anchor it. Could this be easy? Of course not. Go to Windows->Dockable Dialogs->Layers. Find the layer in the box to the right. First adjust the opacity down so it’s kind of transparent. Then, at the bottom of that dialog box, find the little anchor symbol and click it. Sometimes. Little anchor symbol was no longer there when this was written but it was there the first time. No hallucination… really, just had coffee. Whew, anchor also exists under the Layer menu.
Hint: If you accidentally lose the ability to move your floating level, go to Tools->Transform Tools->Move. That puts you back in move mode.
Ta da!
Conclusion: Since the spray painted stencil was less of a disaster than the tempera paint, sangria is better for art work than coffee.
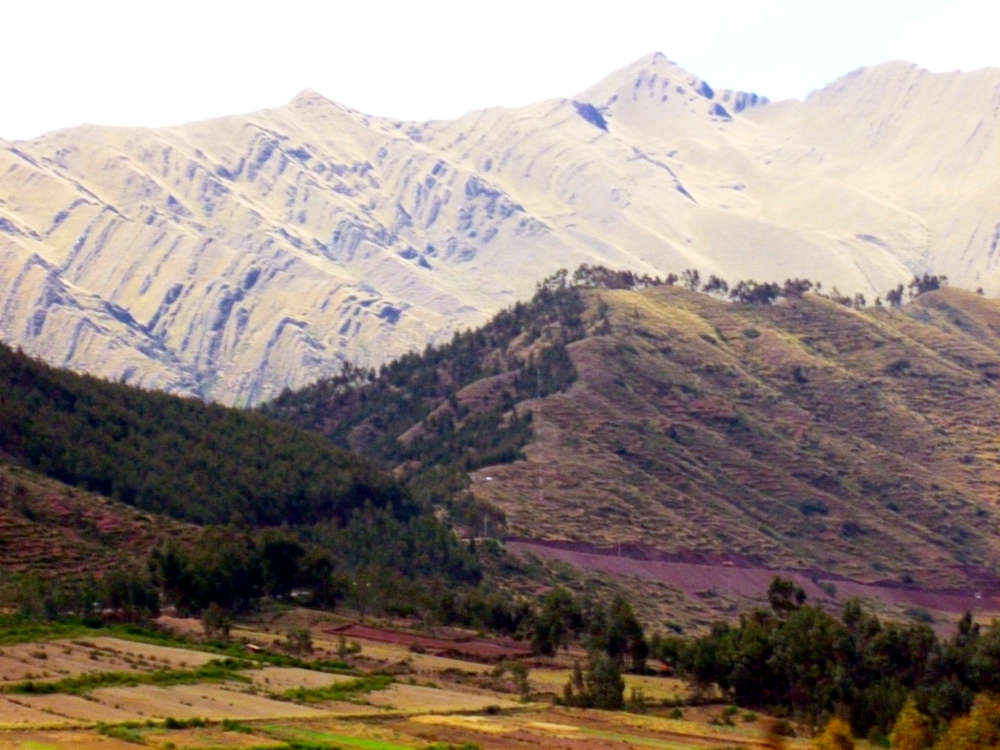
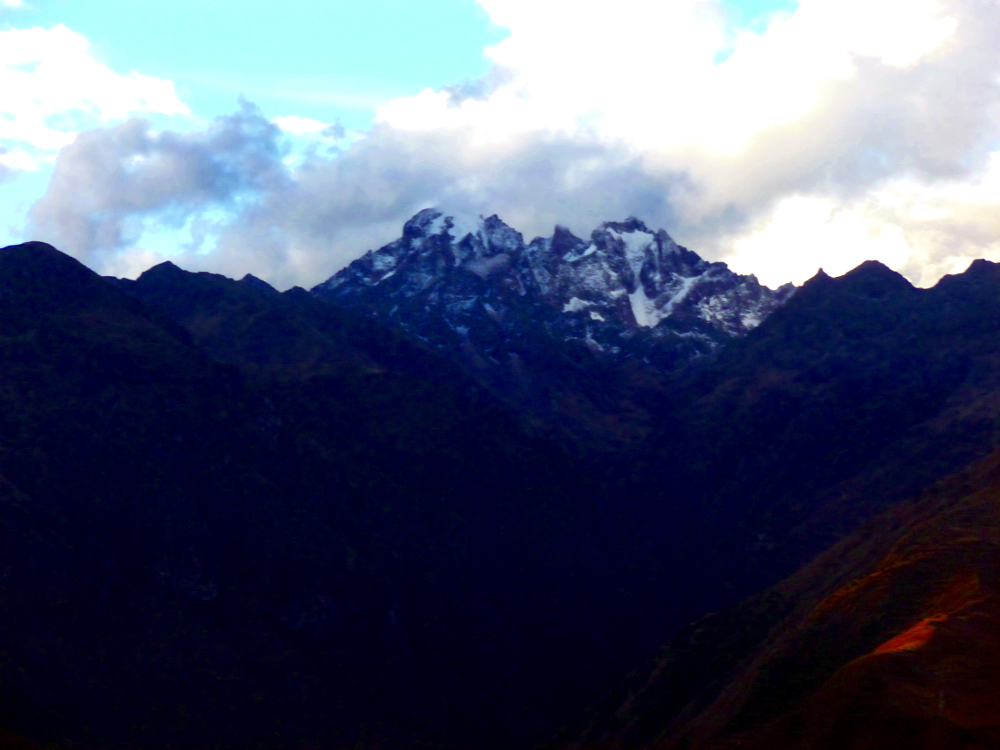
From the road leading out of Cusco, heading to the Urubamba Valley:
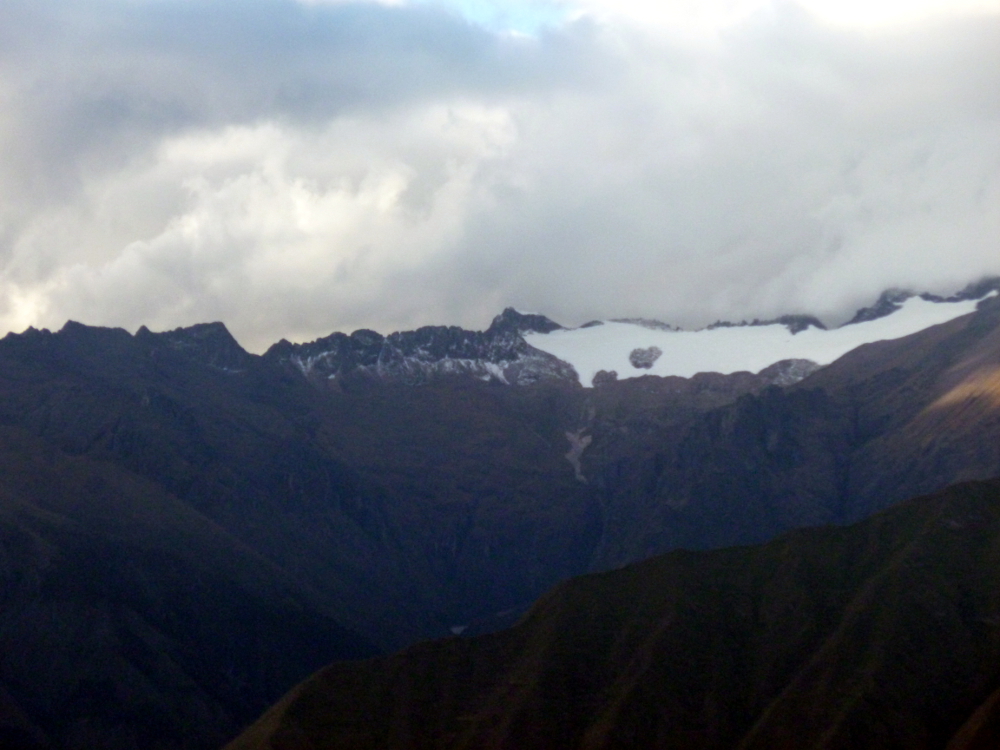
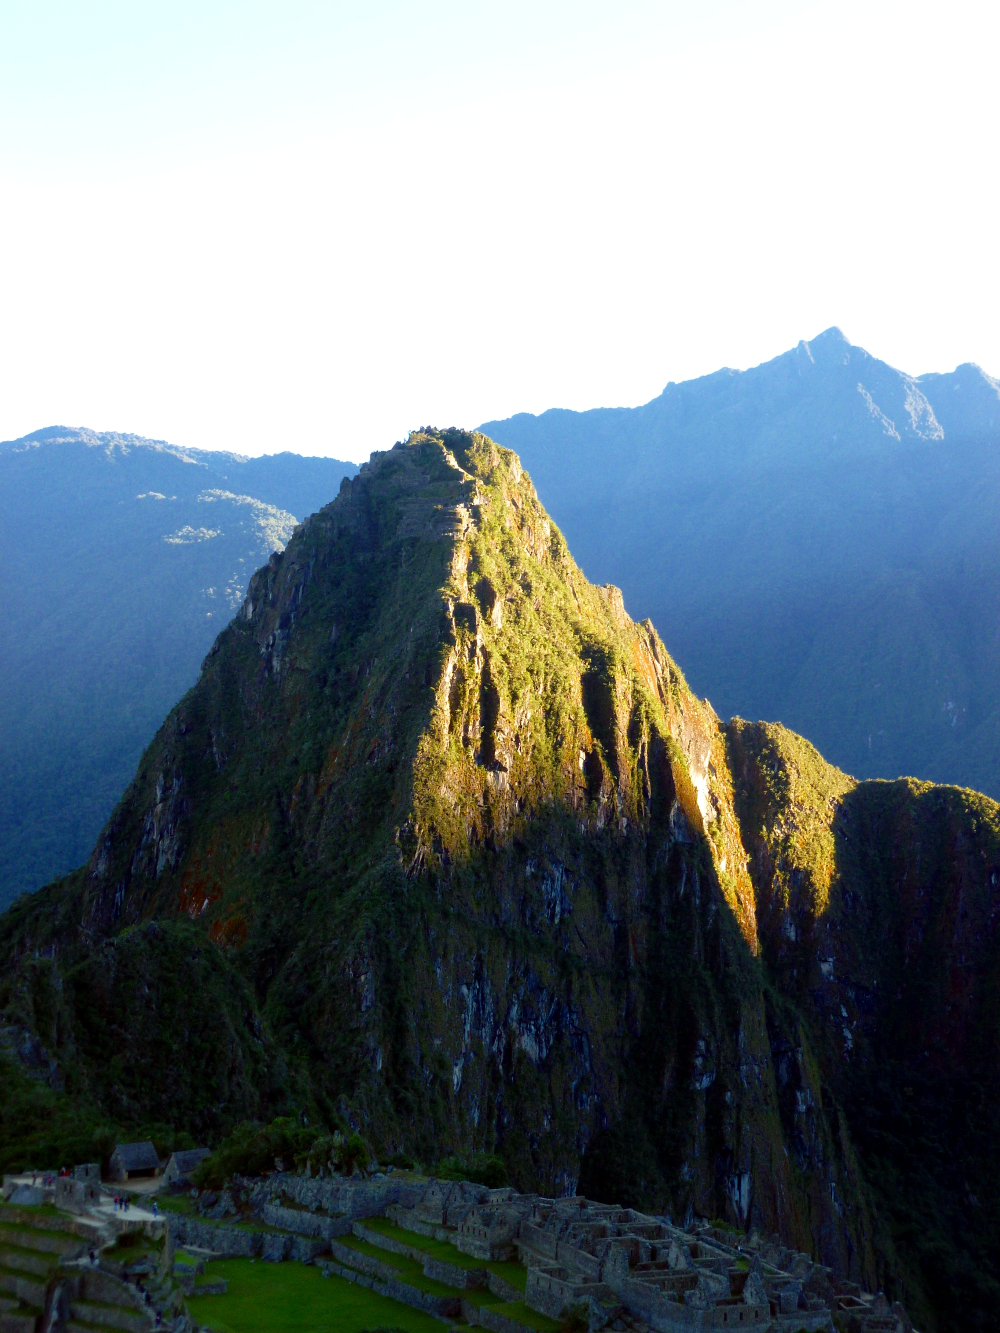
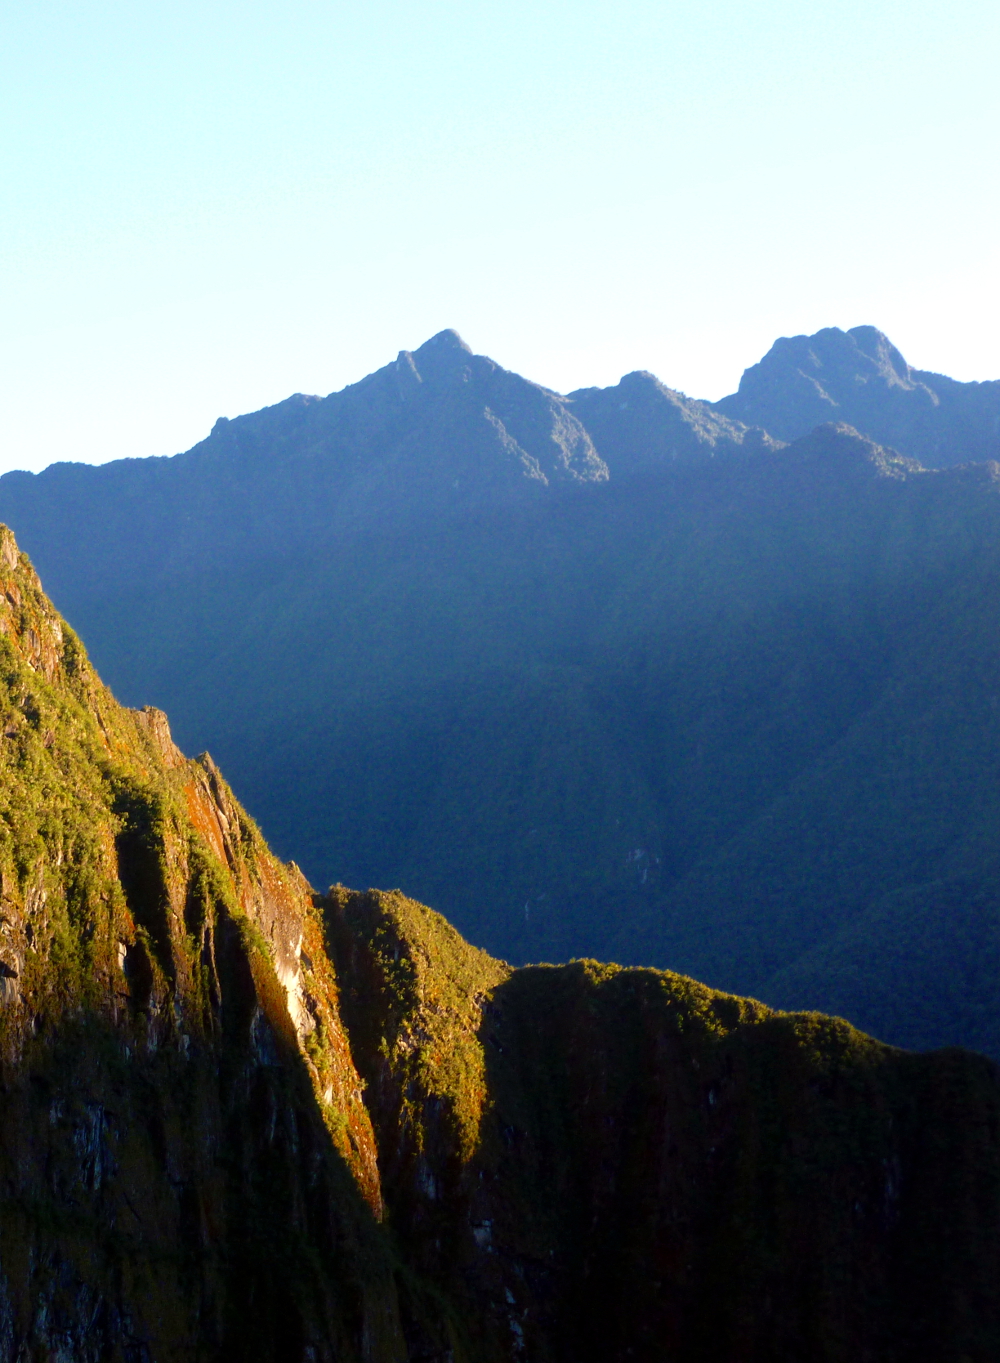
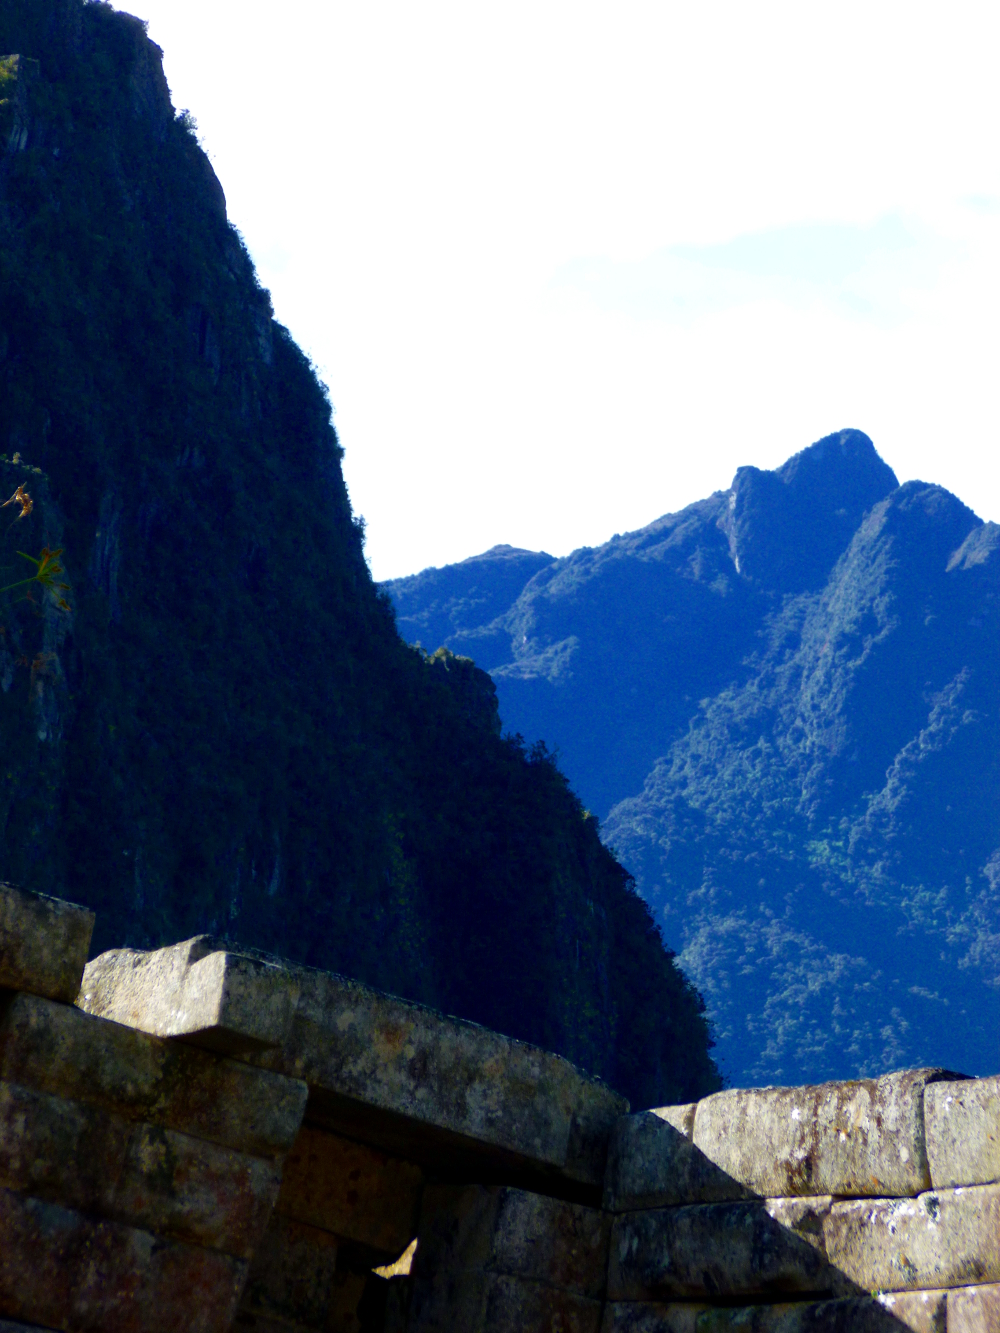
Machu Picchu:
What GIMP makes easy in photo editing, it makes up for by making very basic operations complicated. To scale down the image size for faster loading on the Web, use the Image menu: Image->Scale Image then enter 1000 in the Image Size, Width box. Click Scale.
To save the image as a jpeg, use the File menu and the Export menu. In the bottom left corner of the Export menu, just above the Help button, there is Select File Type (by extension). Expand that menu, scroll down and select JPEG image, then click Export. The first time you export as jpg, set the quality in the Export menu to 100% and click Save default.
Saving: The default save is as a GIMP file. Don’t bother with that unless you’re going to work on it again later and want to save what you did. It is a huge file and you can’t use it for anything except GIMP, so move on. When you close the file, it will warn you that you made changes without saving; it is referring to the GIMP file. From the File menu, select Close, then click Close without saving.
Cropping is also hard to find because it doesn’t have the usual symbol and is buried. Cropping is under the Tools menu. To crop a photo: Tools->Transform Tools->Crop.
For instructions on easily enhancing your photos with GIMP and on downloading this free, open-source software, go here: What blooms in March, Saratoga.