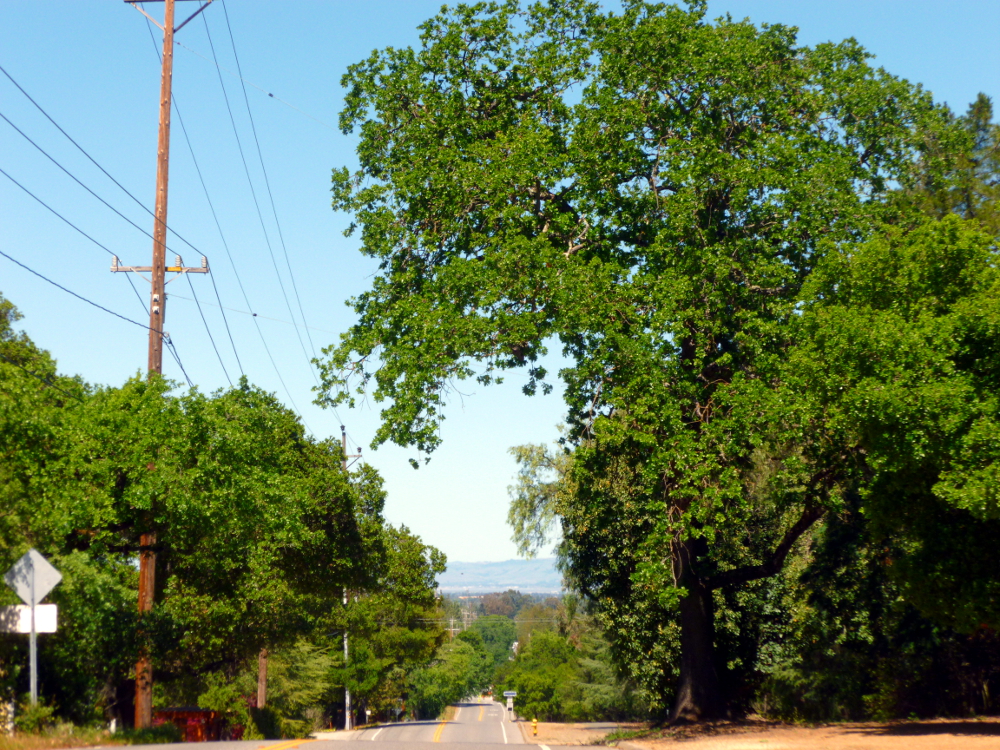
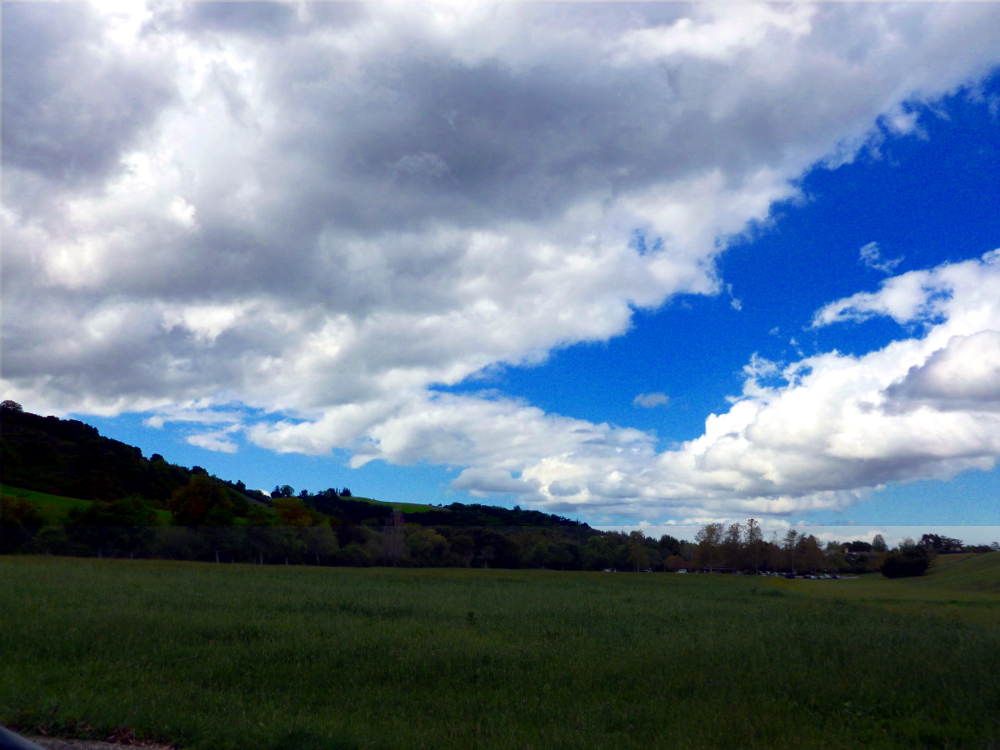
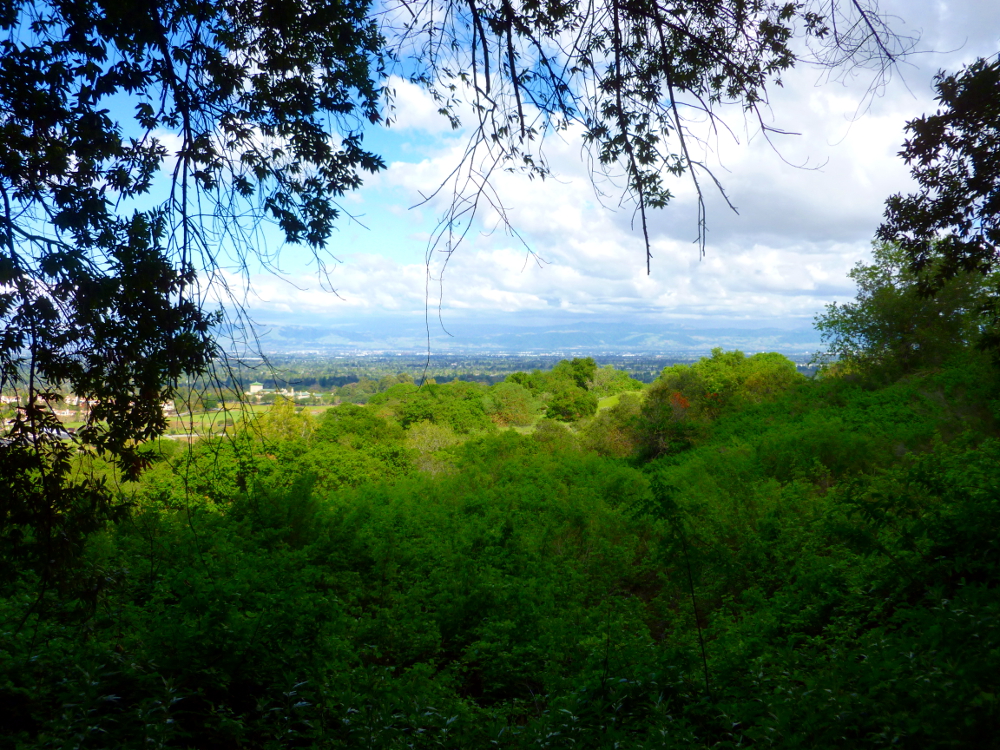
It seemed like I should zoom out some of the road in the foreground so I took the next picture second. But I prefer the featured photo, with more road rather than less. I don’t know why. I guess I like the road, it’s inviting. I like lots of power poles and wires, too.
To shrink the photo to fewer pixels in Photoshop Elements, use Image->Resize->Image Size, then check the box Resample Image then change the Pixel width to 1000 (or X). The height adjusts automatically because Constrain Proportions is checked by default. Changing the pixel size is not available until you check Resample Image.
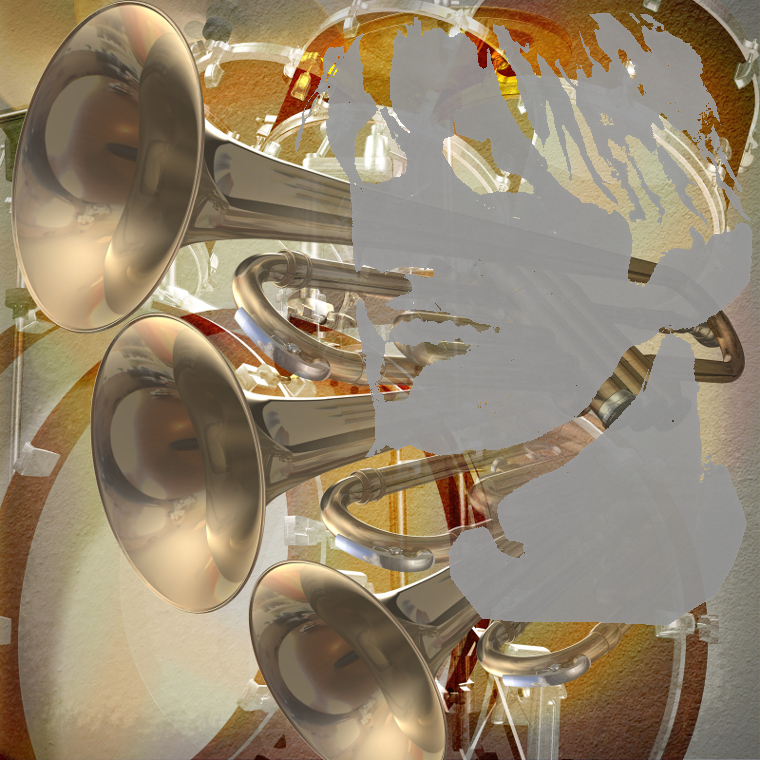
In the feature photo and in the one below, all the Photoshop Elements auto processes from the Enhance menu were applied except Auto Red Eye Fix.
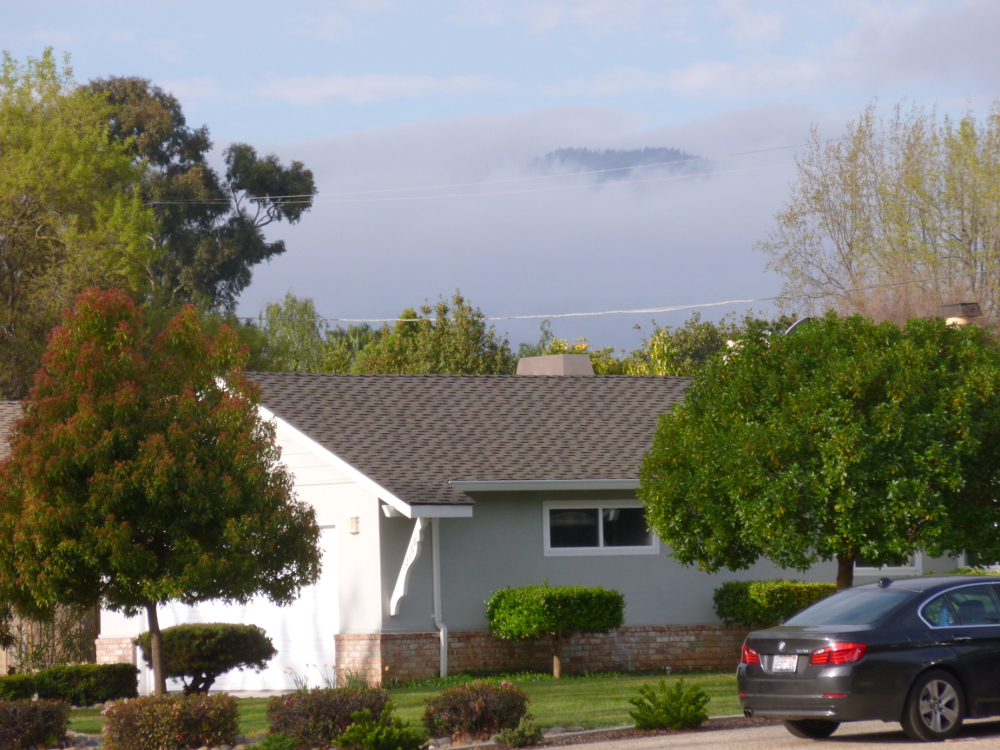
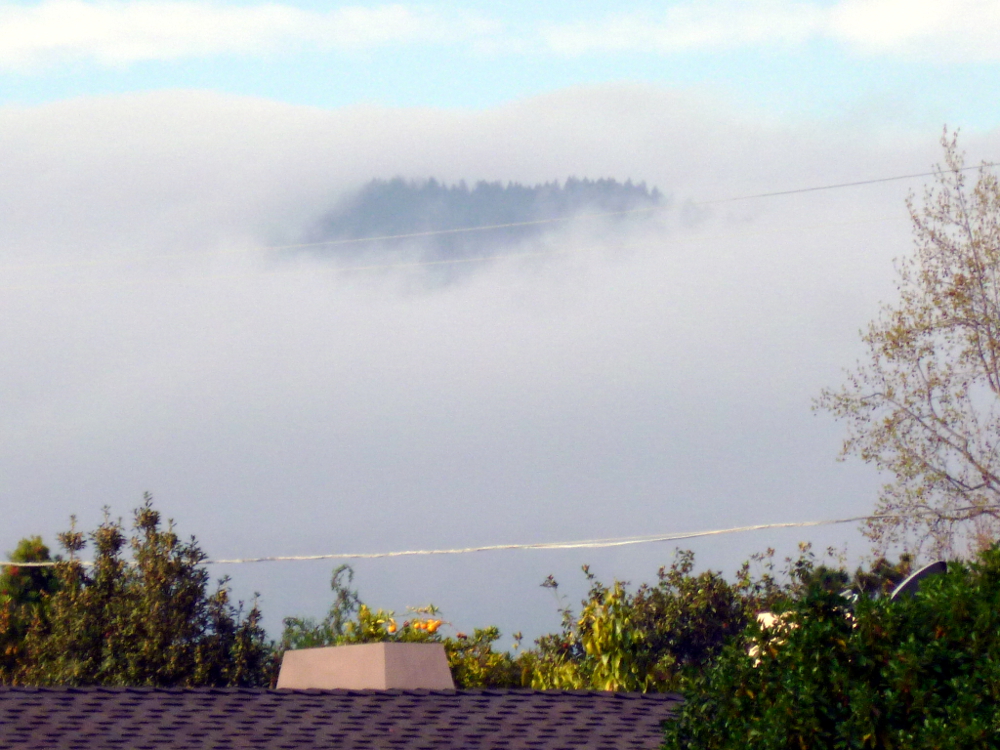
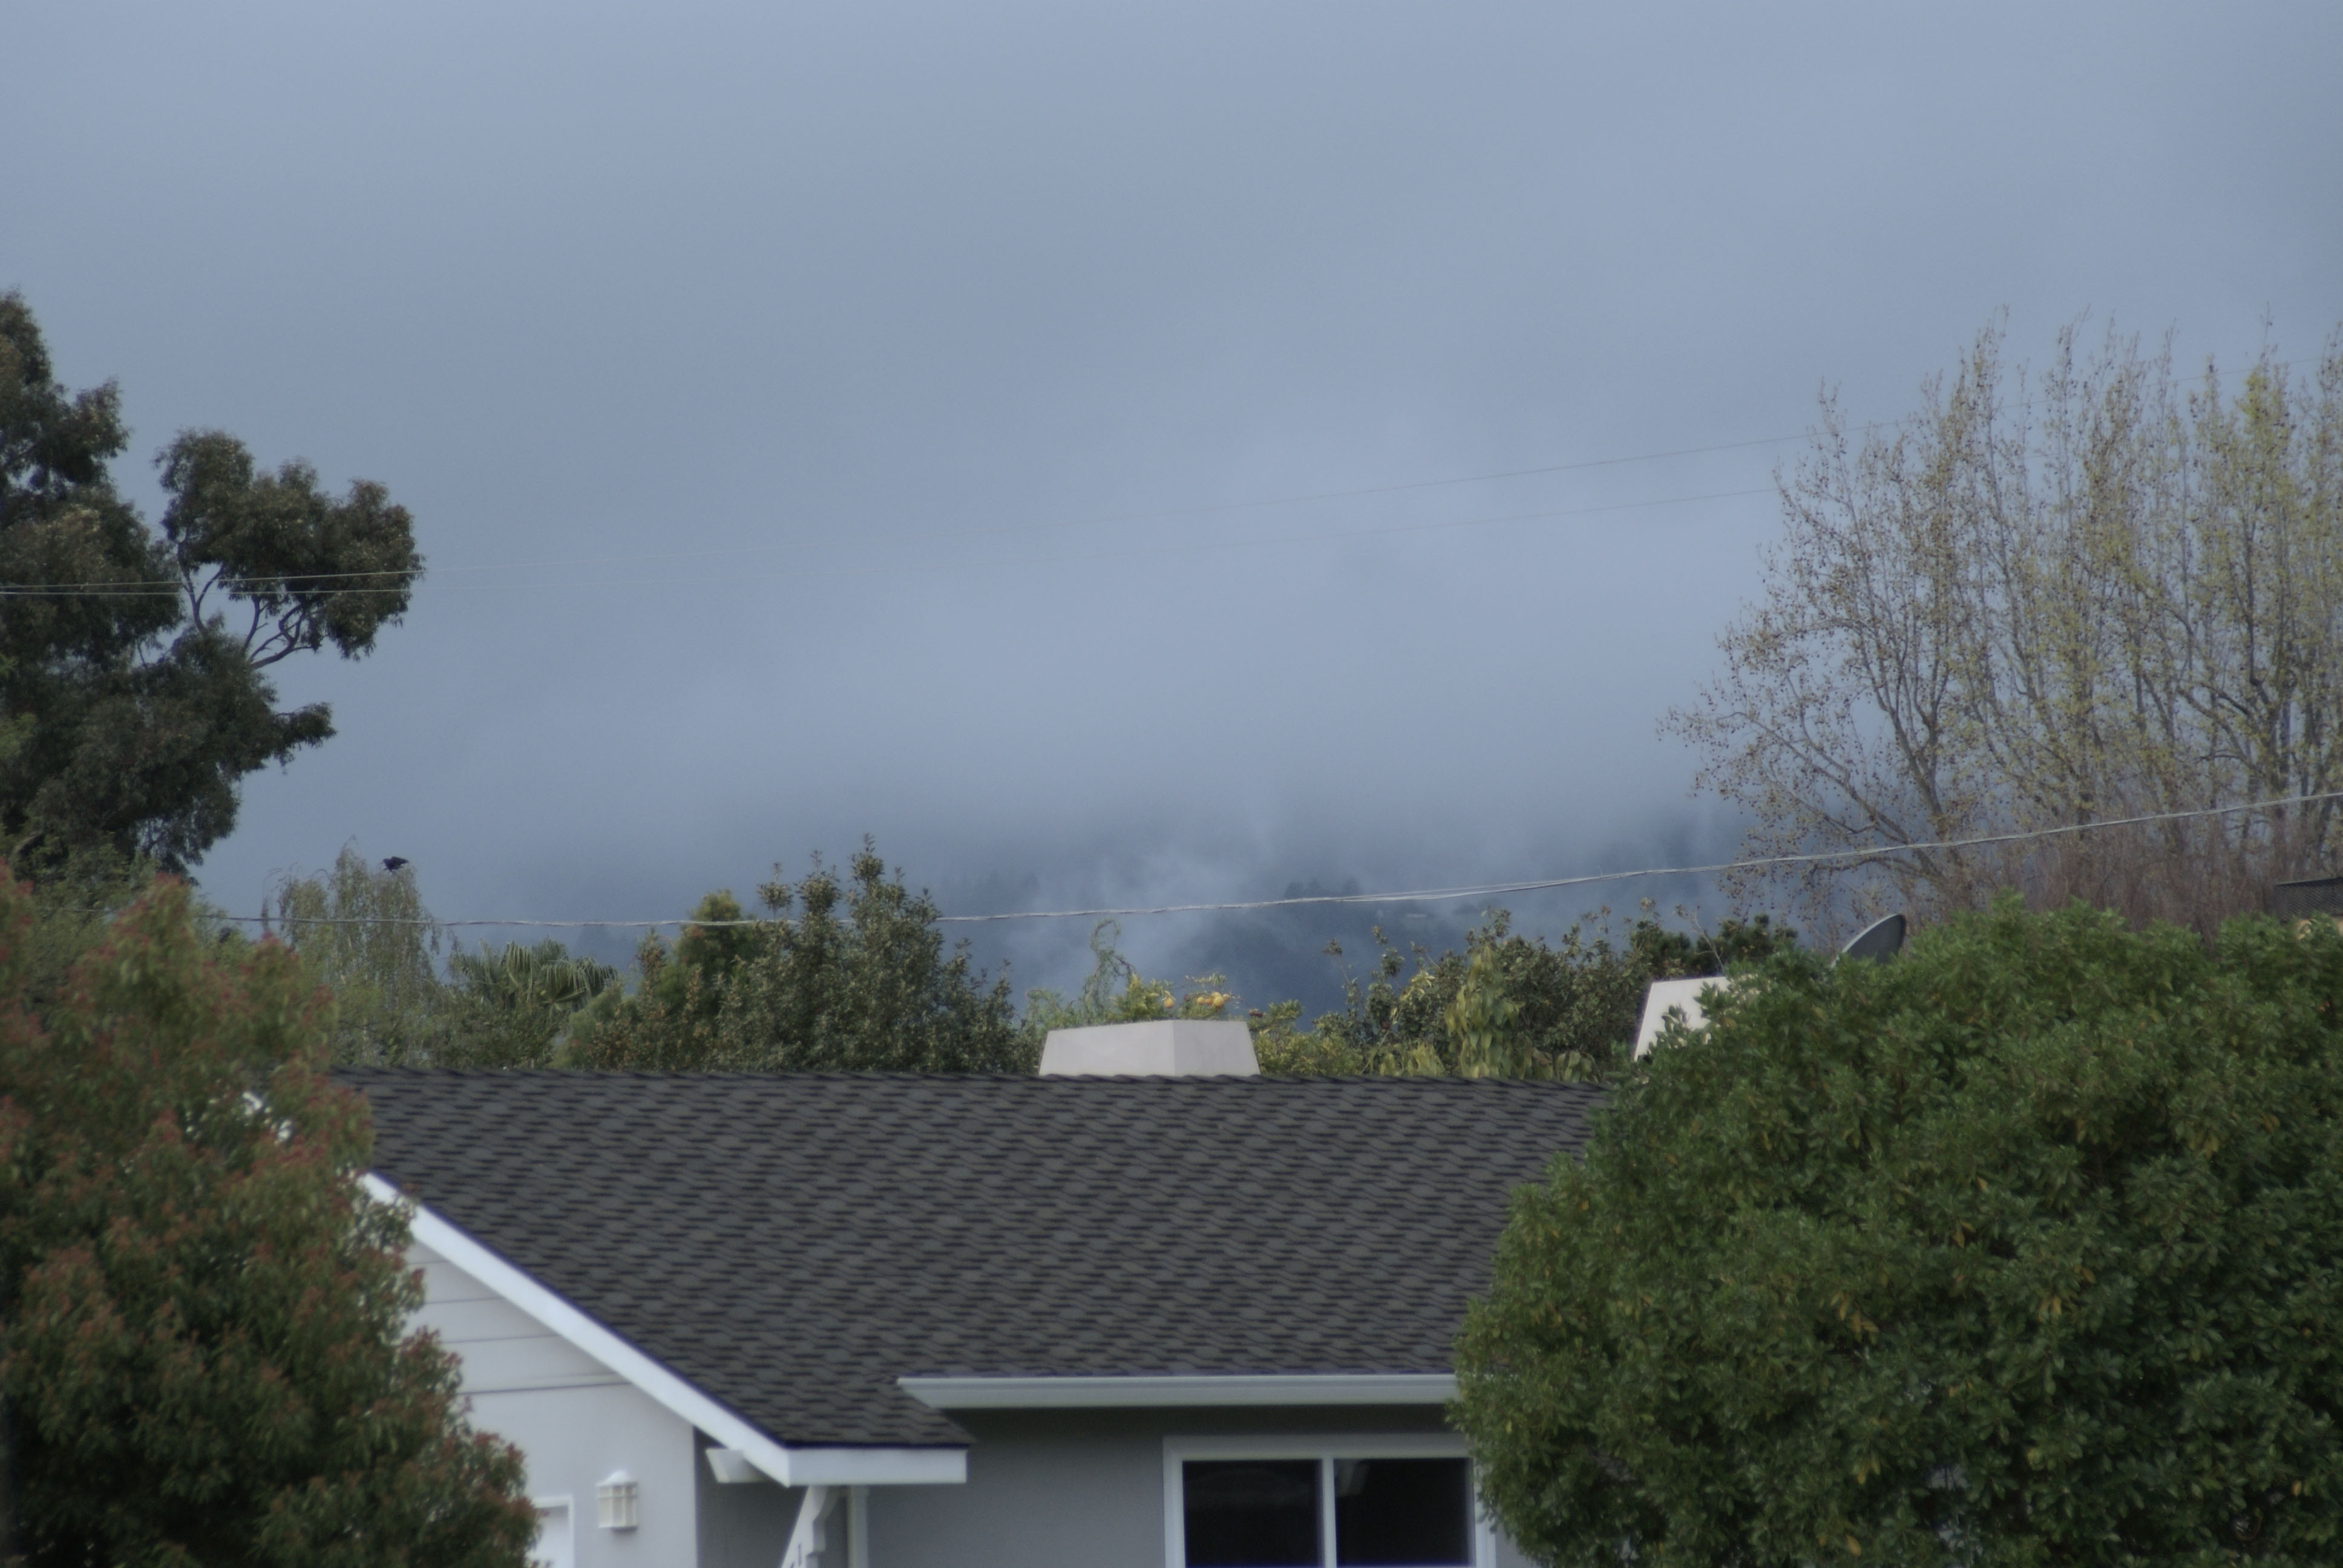
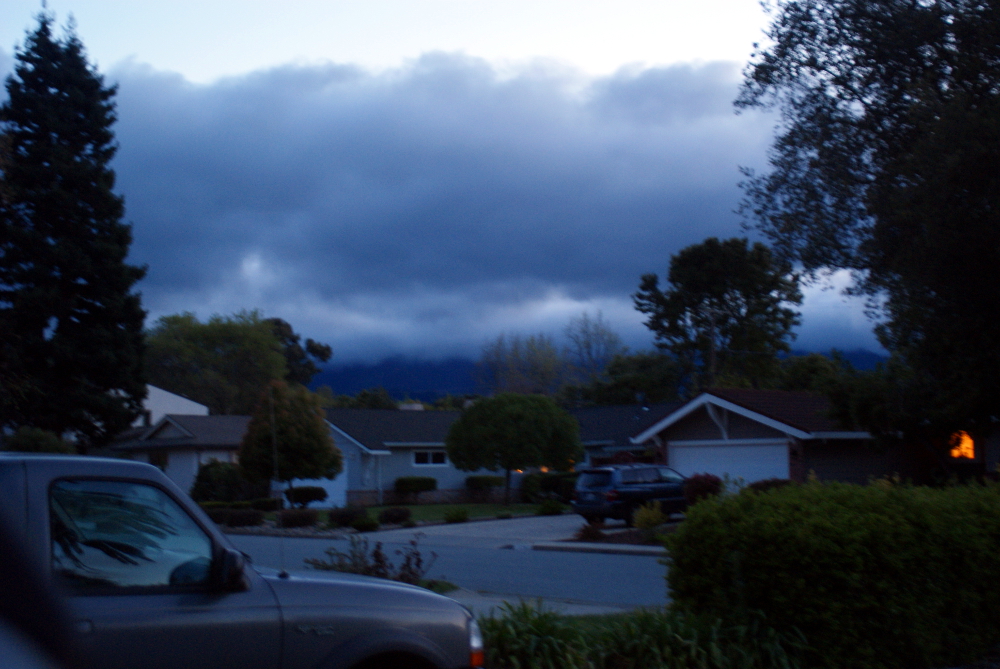
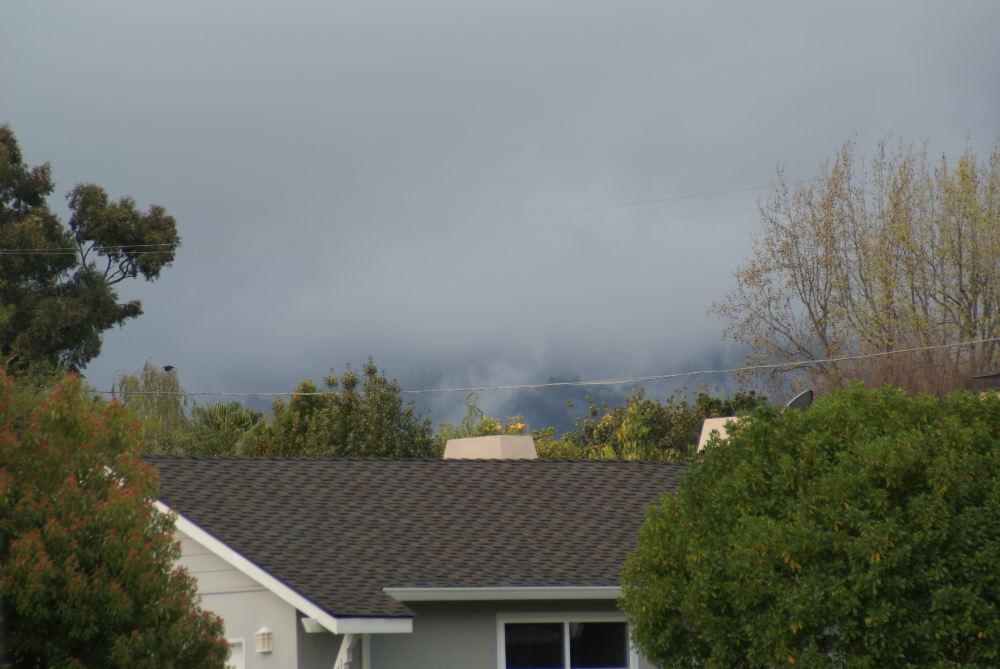
The featured photo has been enhanced using GIMP Colors->Auto->White Balance followed by Colors->Auto->Color Enhance. It is the featured image because it’s more intense, but there is too much purple in the roof, and, arguably, in the fog. Here is the original.
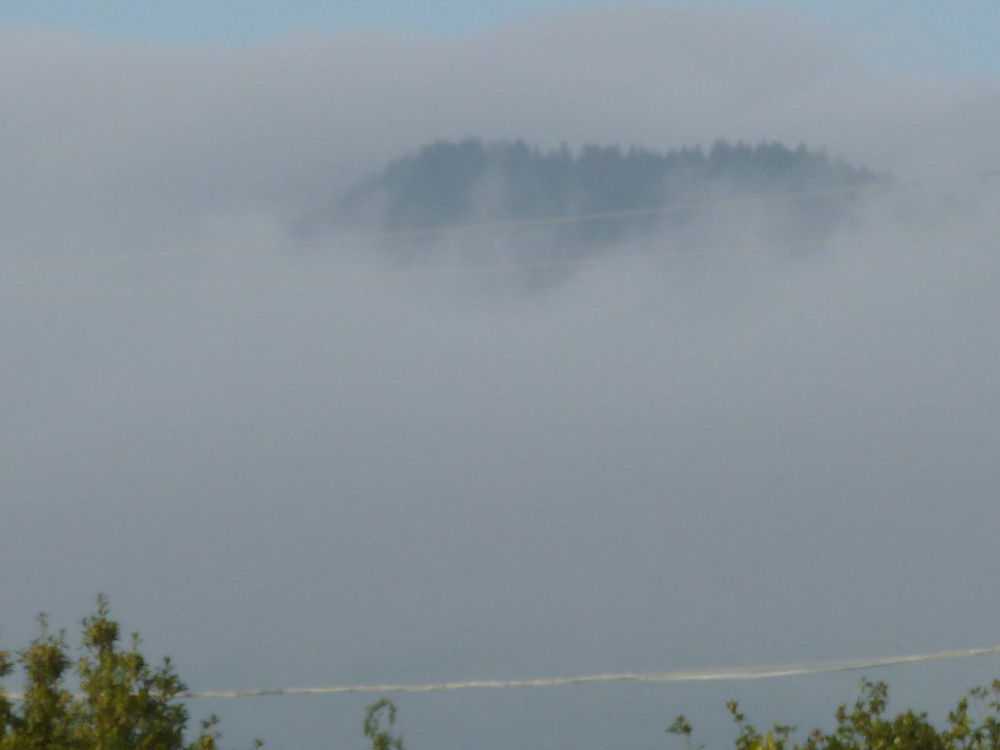
This is a close up, not enhanced. (Because it is all fog, the over-purple effect of white balance and color enhance ruined it.)
In the next set, the first is original, the second, enhanced with white balance and color enhance. Very different feelings.
Well, as everyone who follows this blog knows, I am an avid follower of Leanne Cole’s Photography blog. (That link takes you to her latest post.) Now, Leanne is a professional artist. I am an absolute beginner. So why do I offer tips? Because I think there is value in the little things an absolute beginner has to offer to other people who might think like her and be in the same stage. Even if it’s only one other person out there in the blogisphere, who thinks like Nia Simone and finds value in her little trial-and-error discoveries on the way to someday, 20 years from now, actually being any good.
Leanne has talked about Nik software and Silver Efex. I recently have acquired a Bamboo Craft. An amazing digitizing device. It was $50. (Another thing you’ll notice about Nia Simone’s blog, is everything has to be free or very inexpensive. I think actually, a lot of people can relate to that part!)
Anyway, the device is unbelievably wonderful and so is the software that came with it!!!! Corel Painter Essentials (heaven), Photoshop Elements (frightening, but I haven’t done the tutorial yet) and Nik Color Efex ( very hard to find – it is under the Layer menu in Photoshop.)
The photo in the Featured Image of this post was taken in the evening with my DLSR propped on the top of my Subaru. (Tripod anyone?) The first photo in the post has had the Color Efex layer applied. I lowered brilliance and warmth, merged the layers, and saved as JPEG. Then opened it in GIMP to scale it to 1000 pixels, my standard for this blog. I could not figure out how to do that in Photoshop.
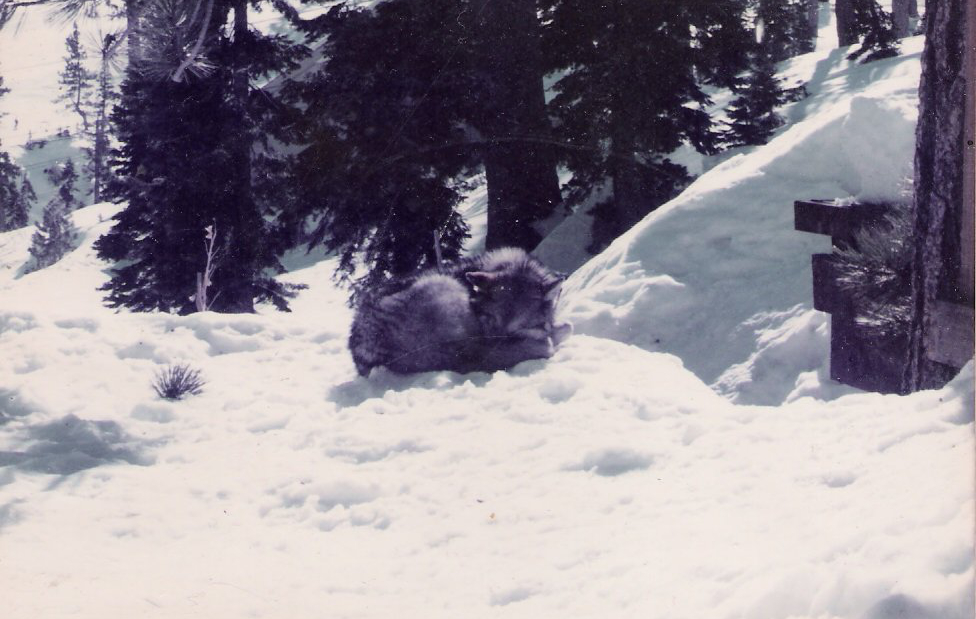
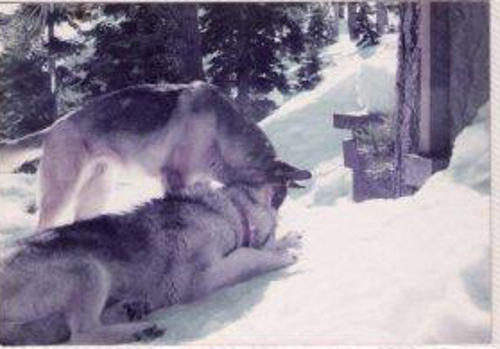
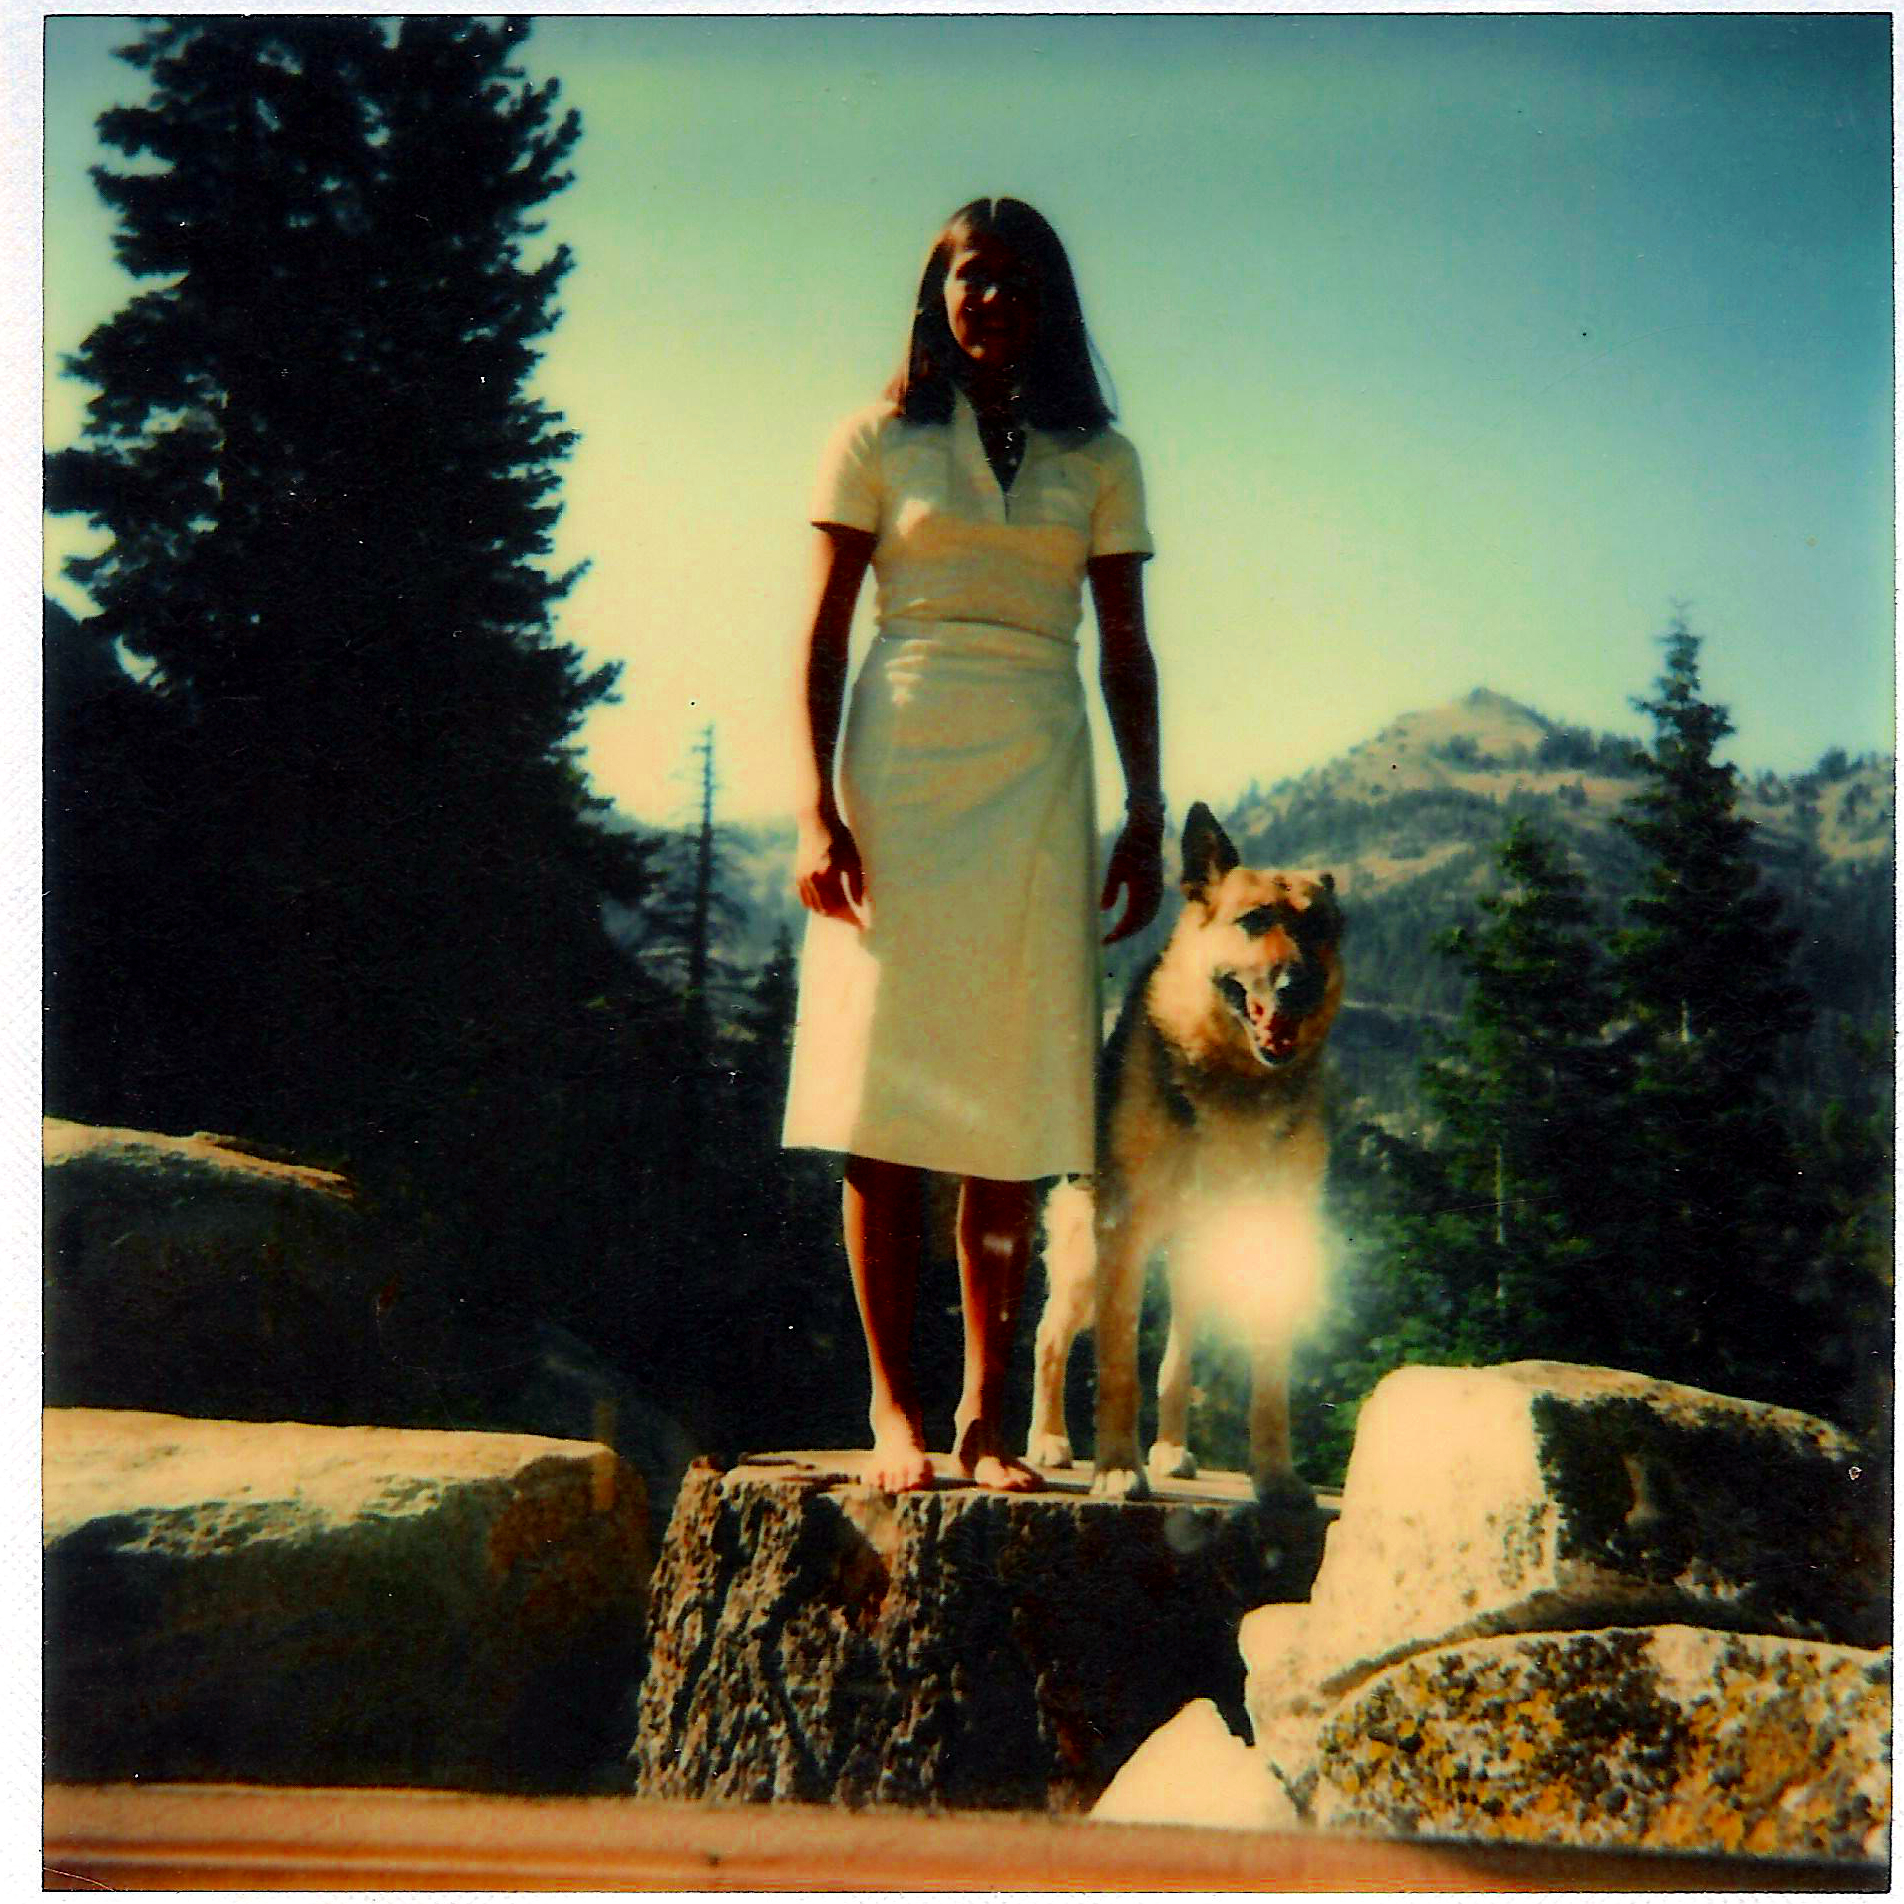
In appreciation for Owl McCloud’s 10 Most Beautiful animals, and for ranking the wolf as number one beautiful animal, here is a wolf chum of the family dog (photos taken in the 90s):
Kona
Kona and Chelsea
Note: Wolves can’t be kept as pets in the US. This one was taken from its owner. I hope and like to think Kona was taken to Wolf Haven.
People can have wolf-dog mixes though, and the owner went on to have mixed pets, also magnificent animals.
However there is a lot to be said for a thousand years of breeding. (Owl McCloud loves dogs too, so here is our last dog:)
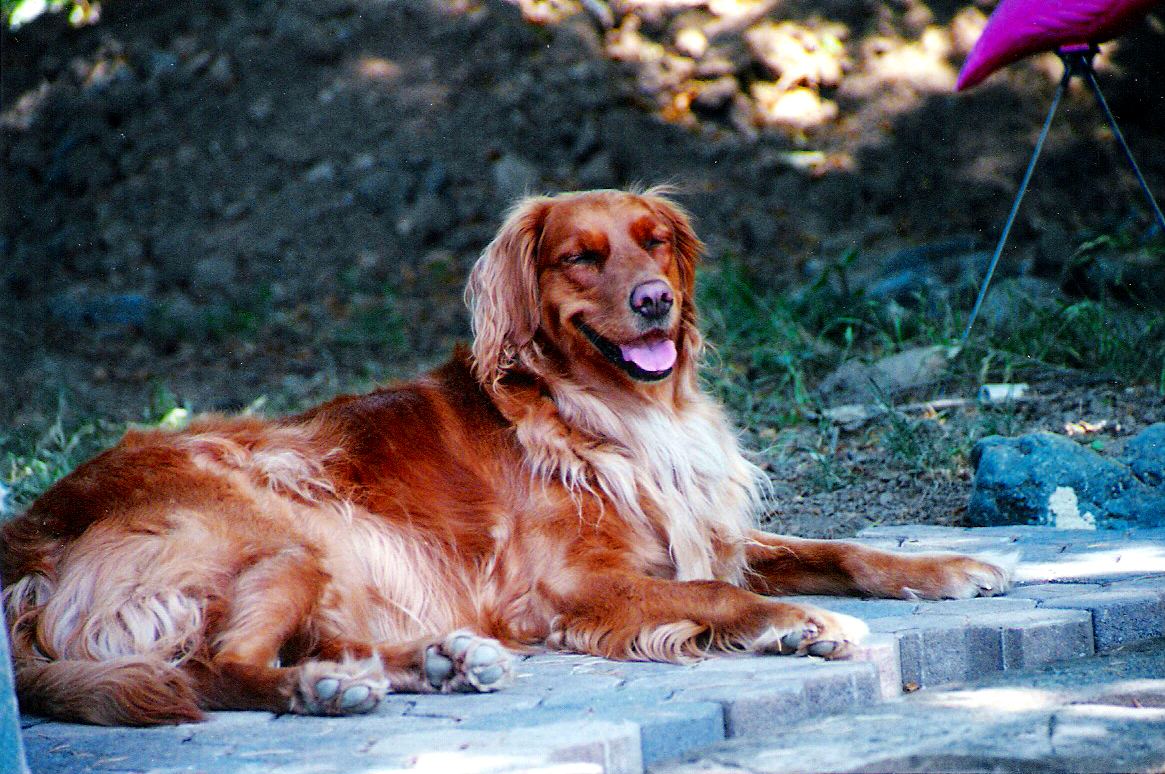
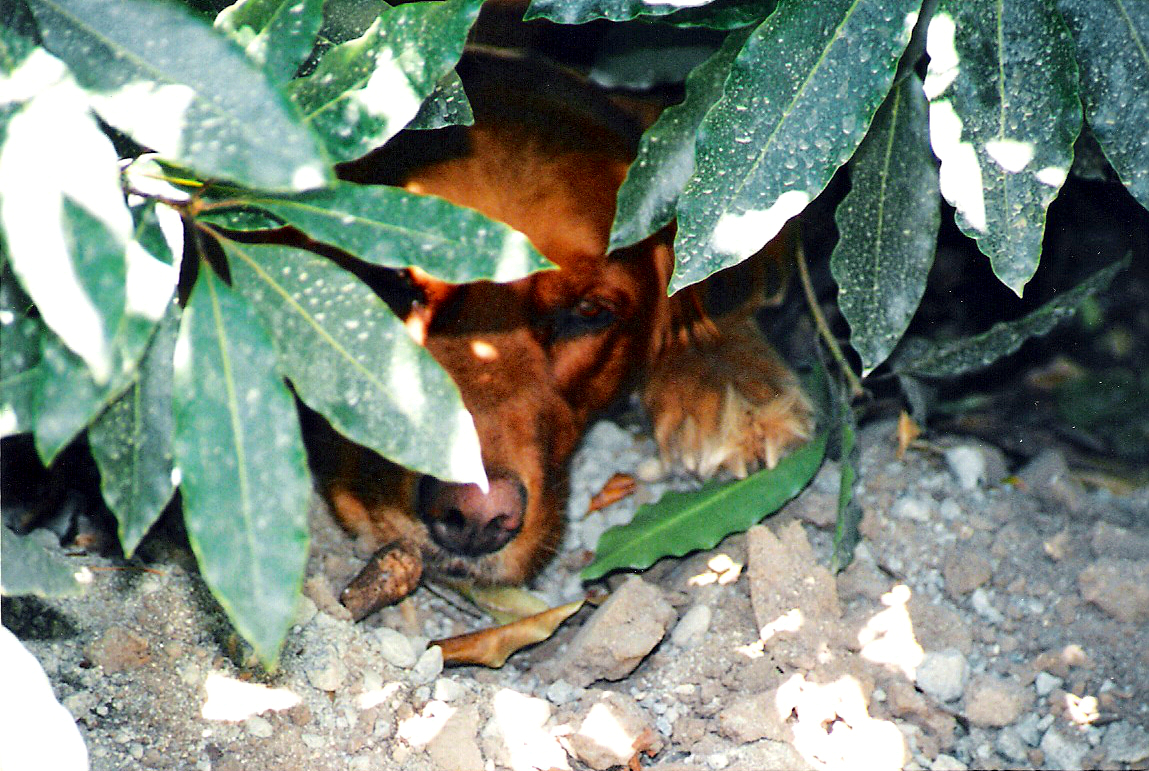
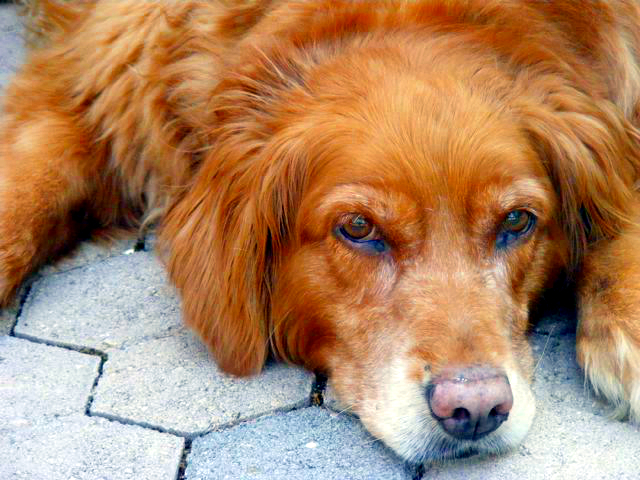
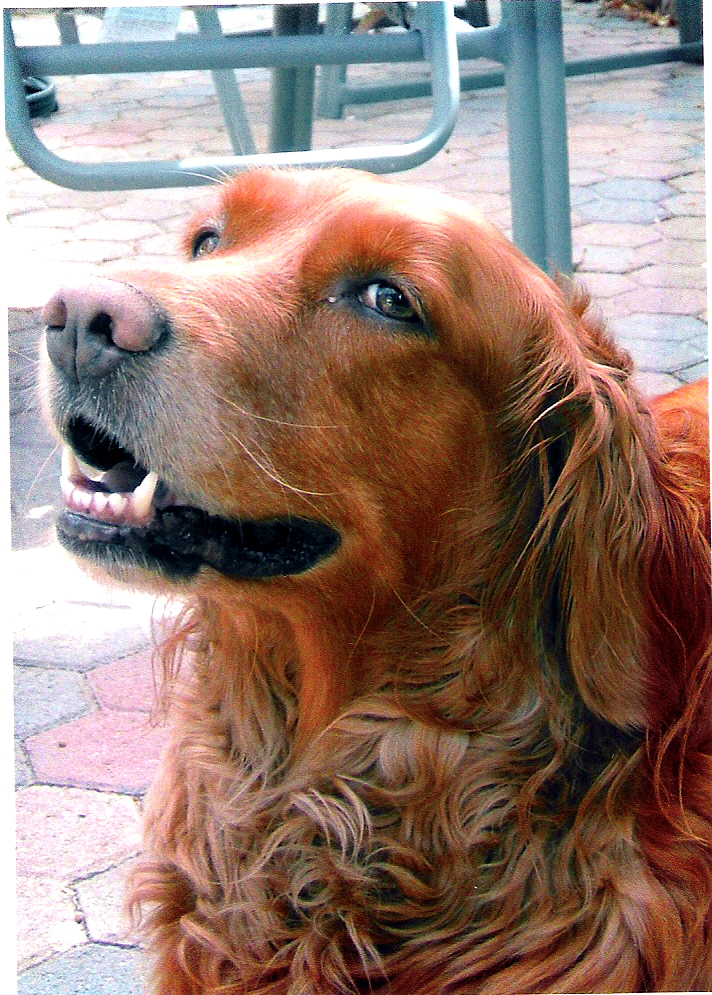
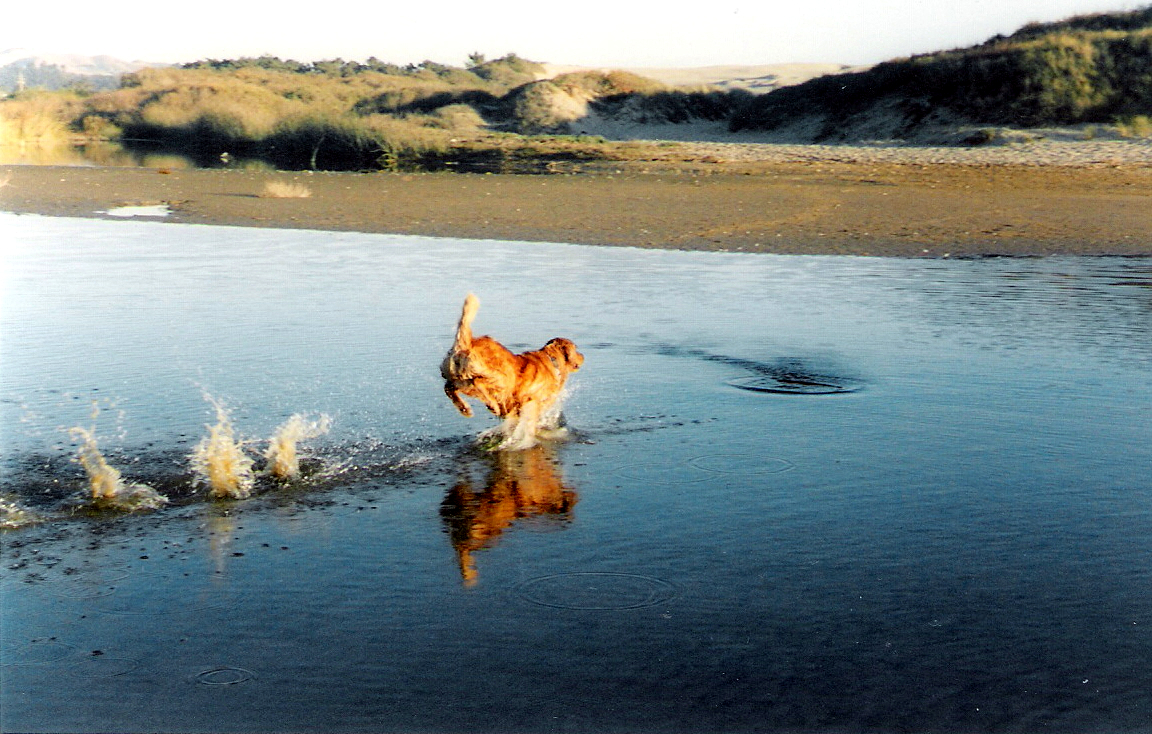
Rarely this clean am IIt’s cool under this bushGive me a break!Quit taking pictures of me. (Mommy is SO glad she didn’t listen and insisted on getting photos of this wonderful girlie dog.)Bet you didn’t know a dog could run on water! (Pismo Beach, California)Yes I’m gorgeous but I want to roll in dead things
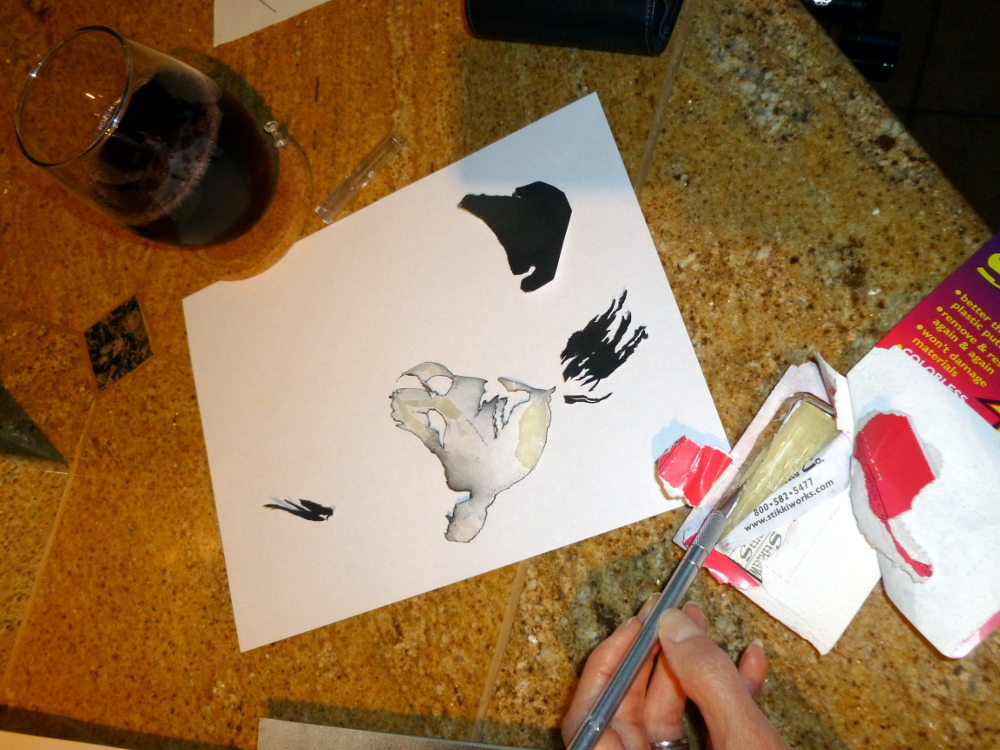
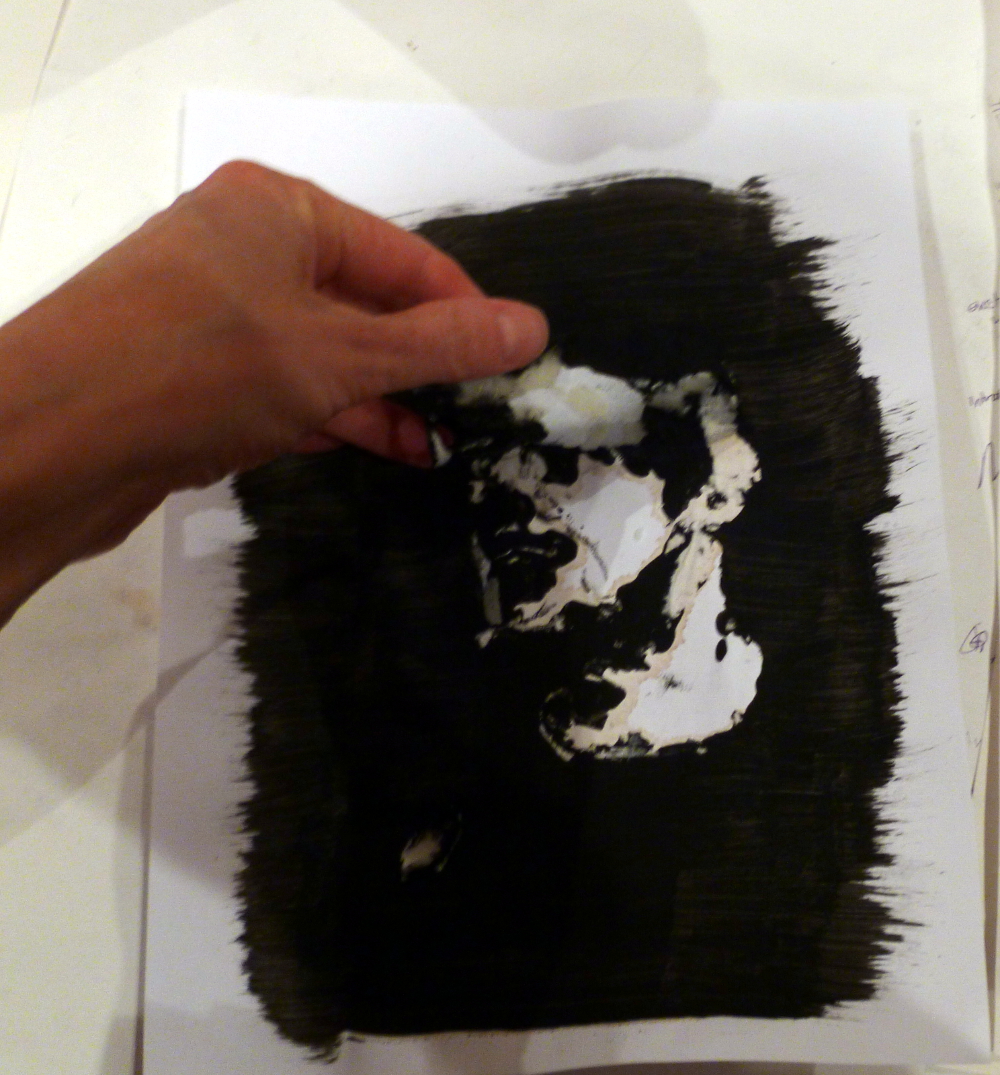
First stencil, step 3, stick it on (step 1 was getting a photo, turning it into black and white and increasing the contrast (see http://www.youtube.com/watch?v=SpcU0b_okv4) and printing, step 2 was cutting it out with an Exacto knife.)
Step 4. (Should be mowingthis grass!)
Failure. Bleeding from overspray.
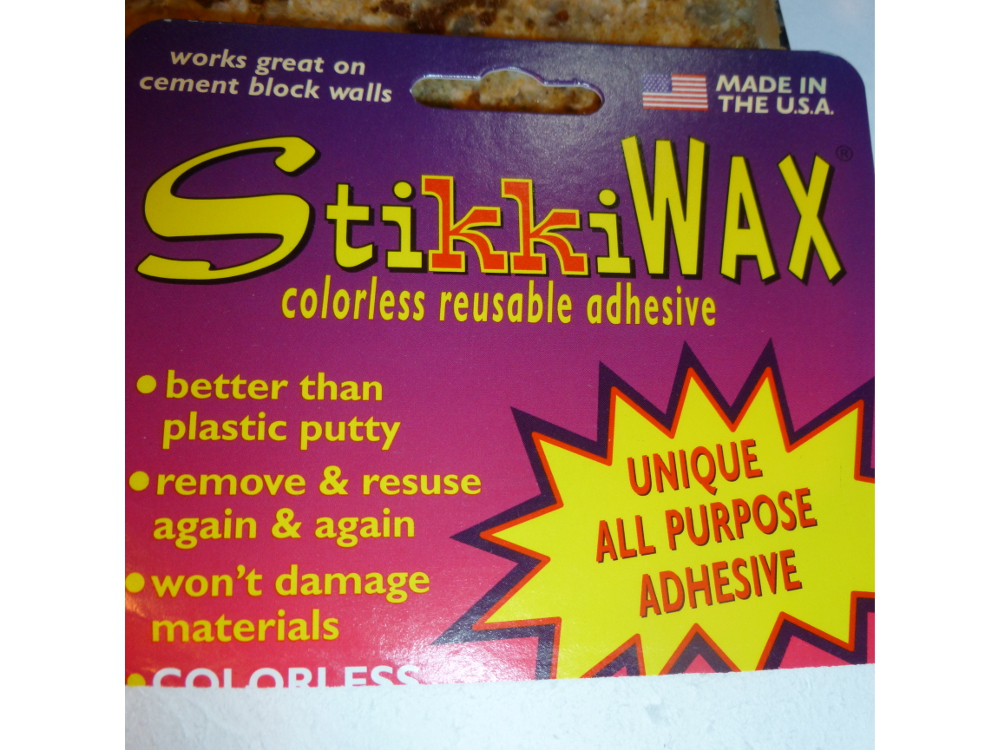
Step 3 again, this time using this cool wax you can get at the office supply (note the original stencil is black now):
Sangria to help with nervous tension. Recipe: Make iced Passionberry Fruit Tisane from The Monterey Bay Spice Company (http://www.herbco.com/). Mix with red wine. A few ice cubes. Be careful with the Exacto knife.
It didn’t work out exactly as described so here is documentation of the additional steps:
Thankfully have a photo of the spray-painted stencil, which is black now, and start with that. Make it a stencil using GIMP as described in completely with GIMP.
Thinking… Can I flip black and white? Should be simple. There’s something called Invert. Click. Nothing happens.
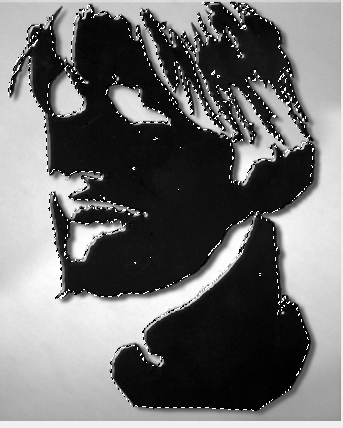
Struggle and experiment, use handy Select by Color (Tools->Selection Tools->Select by Color) to grab all the black.
Have dotted lines. Look in the Select menu. Find Float! Try that. (Note: This screen shot made by creating a new image, then File->Screenshot, selected The Whole Screen, then crop the result.)
It’s floating. Can it be dragged free of that background? Yes.
Now what? Click Edit->Copy. Now it’s in the clipboard.
Now create a new image, (1000×750, basic working size) and paste. Notice, probably didn’t have to move it off to the side as that actually had no effect. Just making it float was the key to detaching it from the background and copying it into the clipboard.
I
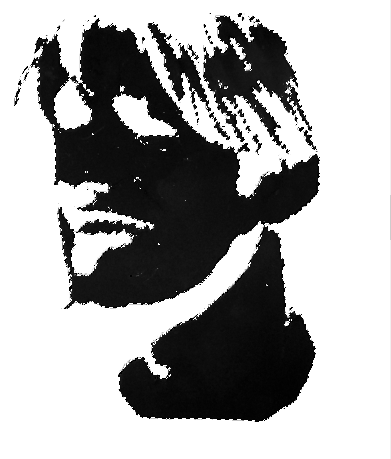
It’s still floating. Can I invert it now? No. Instead, Tools->Selection Tools->Select by Color and click on the white part. Now white part is selected; you can’t tell, because the borders that are highlighted = borders of black, but it really is the white part, which you can tell when you do this: Edit->Fill with Pattern:
Do Tools->Selection Tools->Select by Colors again and click on the black part. Does Invert work now? No. That would be too easy. How about Edit->Fill with Background Color? Expecting the vinyl paneling in the stencil, get this instead, the whole point of the entire stenciling exercise!
Okay, can it be less white? Yes, but can’t remember how to make it gray. Did that somehow. (Will update this post when it’s re-discovered.)
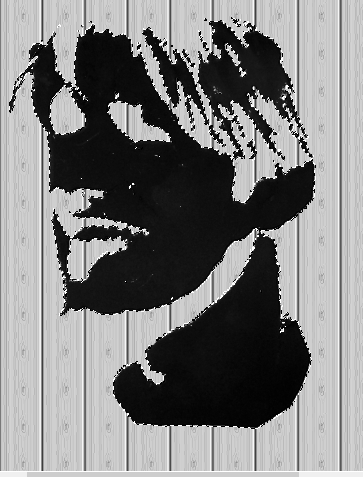
However, can now just Control C or Edit->Copy the floating image, open the background (purchased from canstockphoto for $3) and paste from the clipboard. The image is still floating. Drag it to where you want it.
Last step, anchor it. Could this be easy? Of course not. Go to Windows->Dockable Dialogs->Layers. Find the layer in the box to the right. First adjust the opacity down so it’s kind of transparent. Then, at the bottom of that dialog box, find the little anchor symbol and click it. Sometimes. Little anchor symbol was no longer there when this was written but it was there the first time. No hallucination… really, just had coffee. Whew, anchor also exists under the Layer menu.
Hint: If you accidentally lose the ability to move your floating level, go to Tools->Transform Tools->Move. That puts you back in move mode.
Ta da!
Conclusion: Since the spray painted stencil was less of a disaster than the tempera paint, sangria is better for art work than coffee.
Blogging brings new people and new things to try, like learning art, for now a self-education, but one day, who knows?
Today’s discovery: How to tone down the green after auto-enhancing the color in header photo.
Original photo:
Original photo (cropped out of a photo to fit the header shape)
To increase pop, perform Colors->Auto->White Enhance then Colors->Auto->Color Enhance:
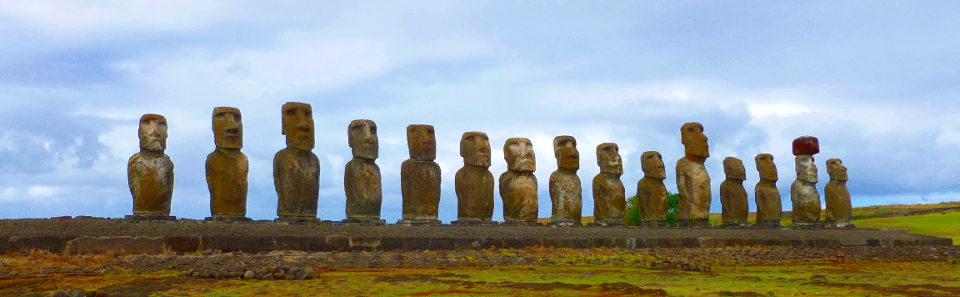
Experiment 1 with auto white balance, then auto color enhance. (Tongariki on Easter Island.)
Too green. But… better than the washed-out original.
A week later, notice something called “Fade Color Enhance” appears in the Edit menu, but only after you have performed a color enhancement. If you perform a color enhancement, close the file and re-open it, you do not get this operation showing in the Edit menu.
Use Edit->Fade Color Enhancement to tone down the color on the whole picture. It gives you a preview and a sliding scale so you can see what the adjustment is doing. Get the undesired color down to where you want it, then tone up the colors you want to intensify.
In this example, select the other colors (non-green) one at a time by using Tools->Selection Tools->By Color Select, then Colors->Auto->Color Enhance.
When all the colors are done, use Select->None to eliminate the selection dashes so you can see the results. If you like it, File->Export it to JPEG. Otherwise, use the same process to intensify more colors.
The result is at the top of today’s post (and in the new blog header image). There is not so much green on the statues.